Our Raritan manual pump head was probably one of the last pieces of original equipment on the boat. It served Apropos well for 4o years! I replaced a few parts over the years, but for the most part it was reliable and simple. I kept a laminated sign on top to let new people aboard know how to flush it properly.
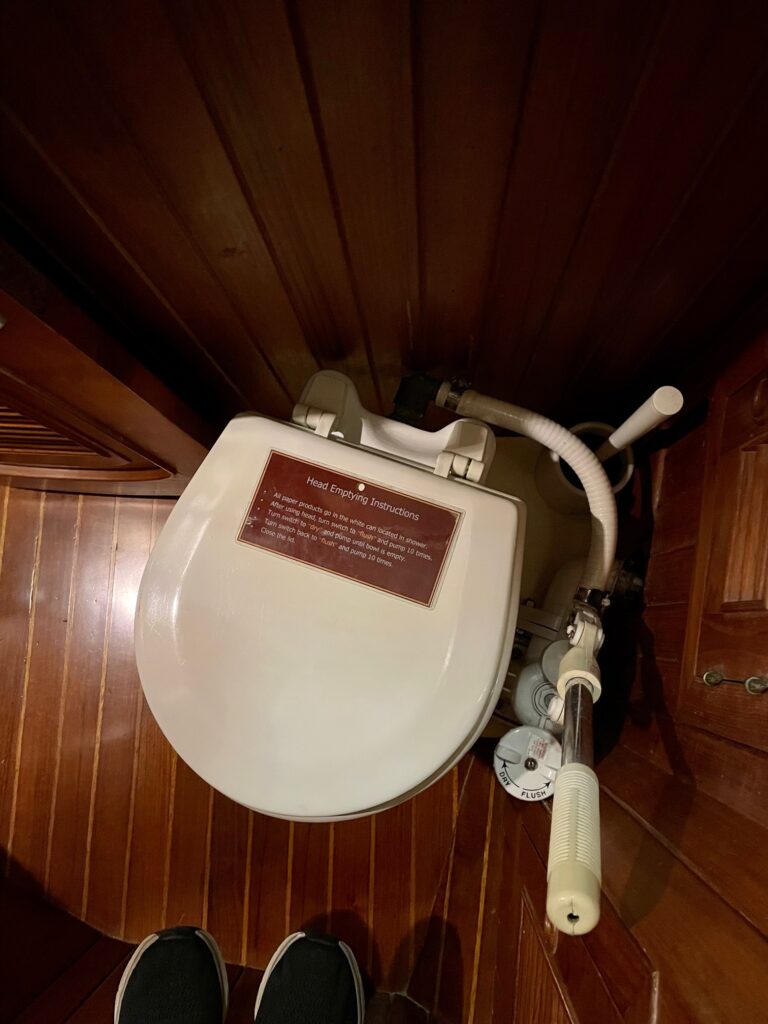
The most troublesome part of the system was the discharge path–many feet of 1-1/2″ flexible sanitation hose that snaked its way from the head to a Y-valve then to either a black water tank or overboard via a vented loop to a thru-hull. I replaced most of the discharge hoses and the Y valve in 2013. The hoses were like a partially clogged artery with the inside diameter reduced from 1.5″ to about 0.75″. The incoming flush water was seawater via a thru-hull. We tried to give it between 10-20 pumps depending on what was in the bowl. We also avoided flushing any toiled paper through the system to avoid the inevitable clogs that were bound to happen.
New System
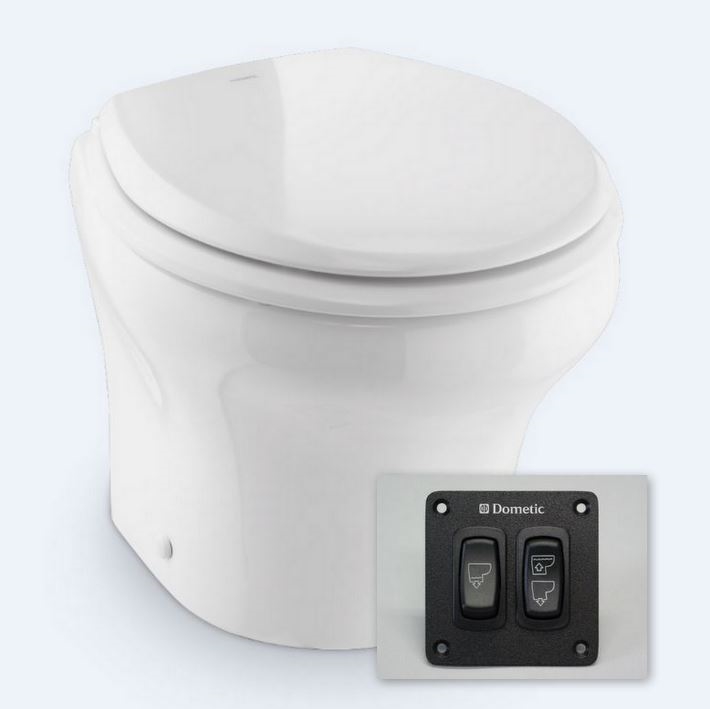
We decided to make life a little more comfortable aboard by replacing the manual head with an electric one. The Dometic MasterFlush 8120 is a good design, has a longer seat than our old head, comes with a built-in macerator pump, and fits in our existing raised-platform footprint.
Installation
I decided to make the input water changeable between using freshwater and seawater. For local cruising, we carry 120 gallons of freshwater so it makes sense to use freshwater whenever we can. Keeping saltwater and the bacteria that comes with it out of the system as much as possible has a lot of benefits. But for offshore cruising, where freshwater is dependent on a watermaker, I want to be able to switch the system over to seawater.
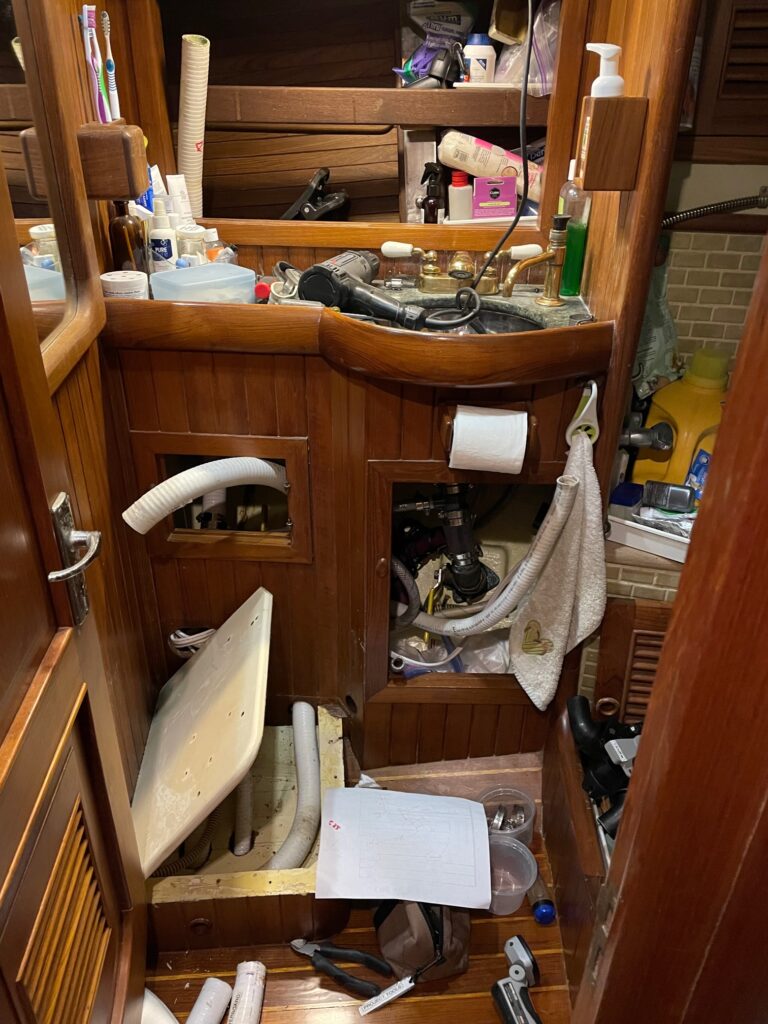
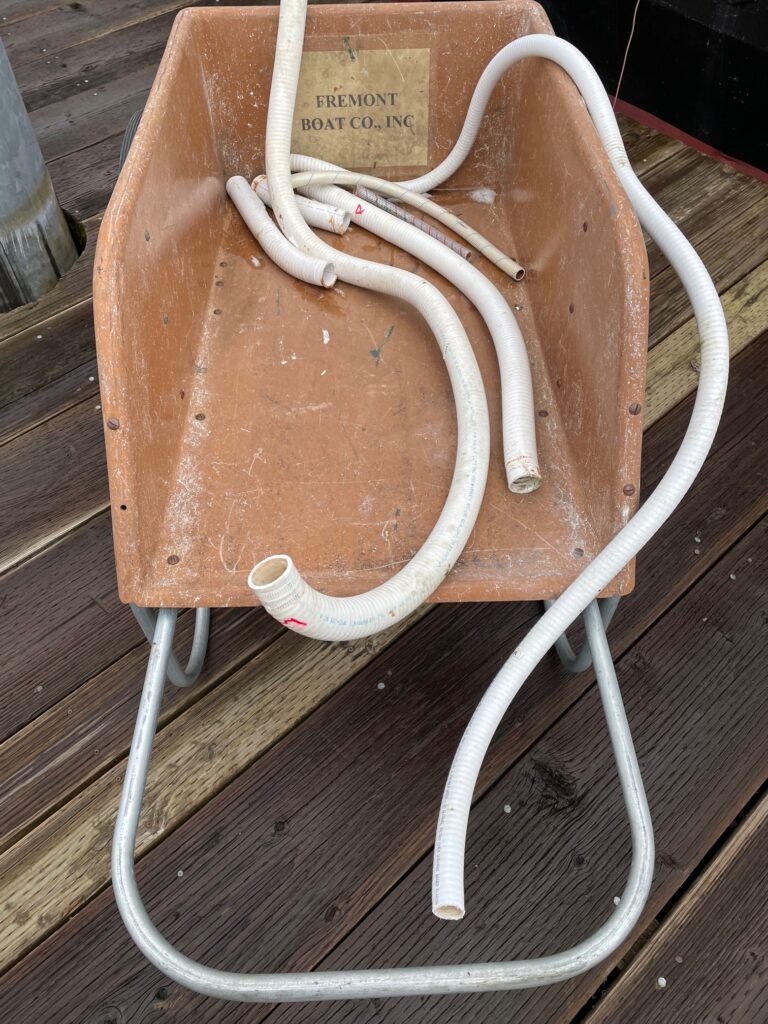
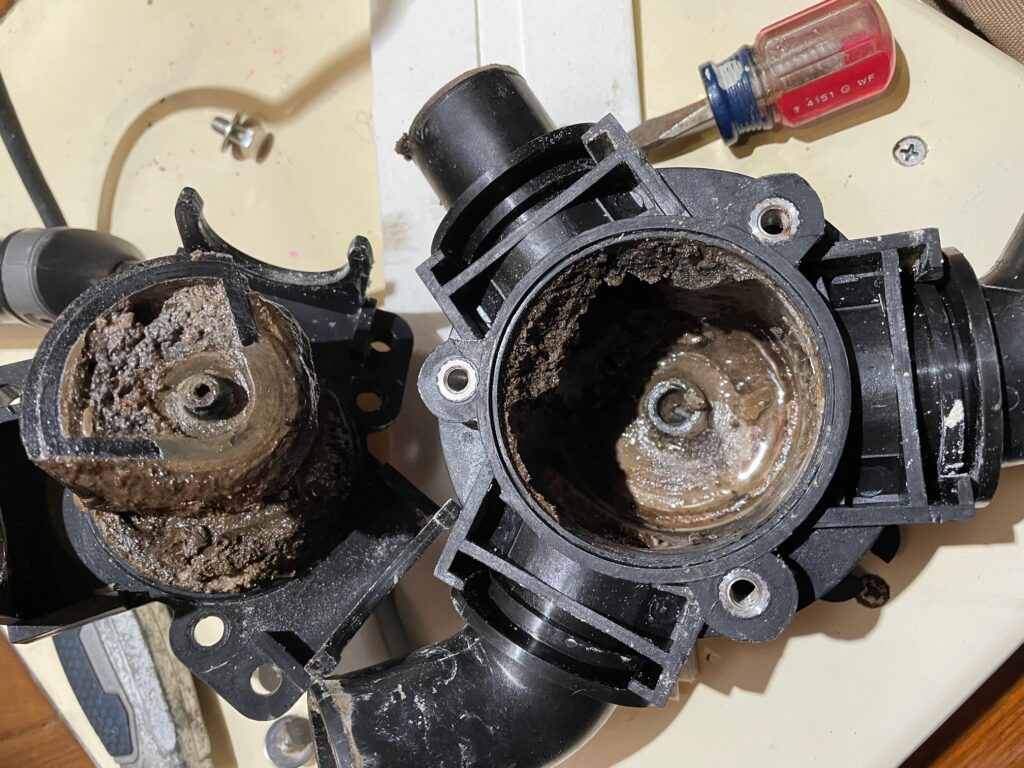
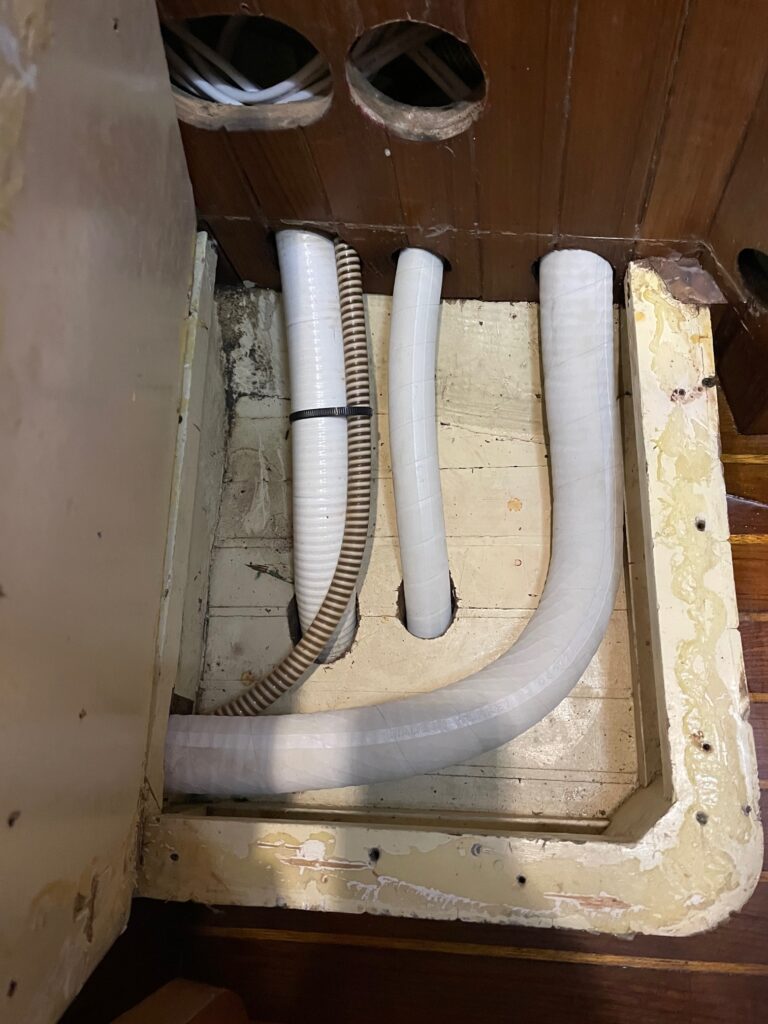
The first step was of course to remove the old head. While doing so, I immediately noticed the discharge hose between the head and the Y-valve was 50% clogged, just like it was 9 years ago before I replaced it. I also noticed the Y-valve handle was not moving completely from internal to external discharge positions. Relating the system to a heart, where the hoses are arteries and the Y-valve is the heart valves–the system was real close to suffering a heart attack due to clogged arteries and valves. The blockage is caused by minerals in the saltwater and whatever gets flushed from the bowl.
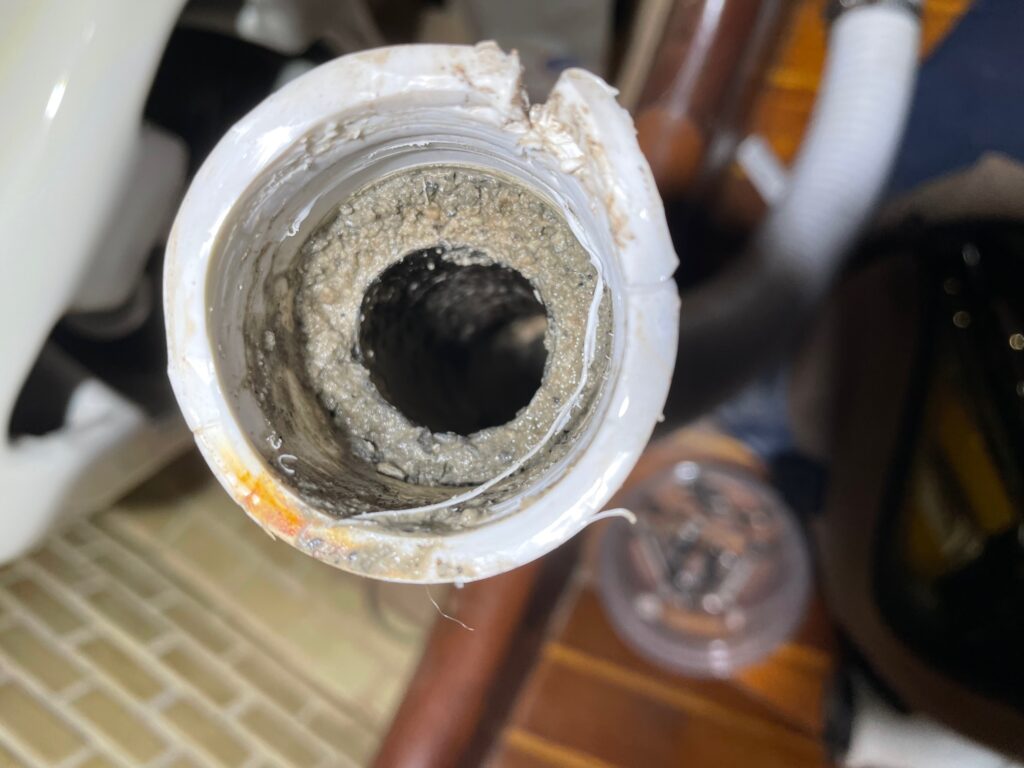
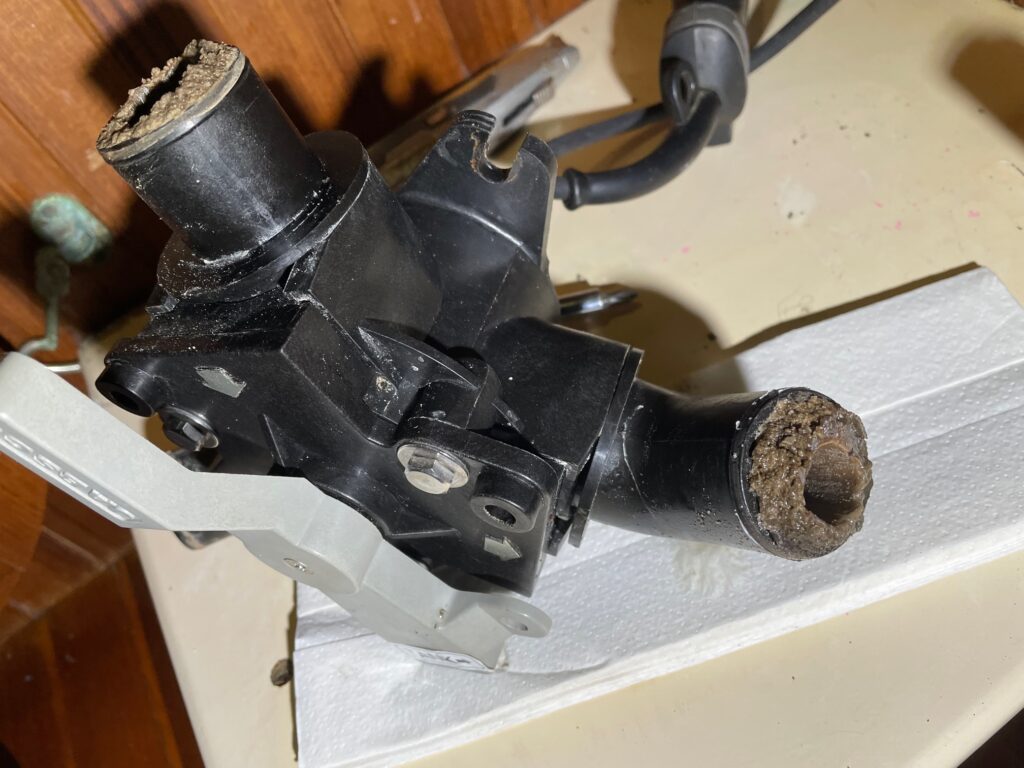
So I replaced all the hoses (not a fun job) and cleaned the Y-valve. For the new hoses, I used Trident Premium. It has a 1.5″ ID and a slightly larger OD than the hoses I removed, and claims do better with odors. The procedure took many hours and I’m glad it’s done!
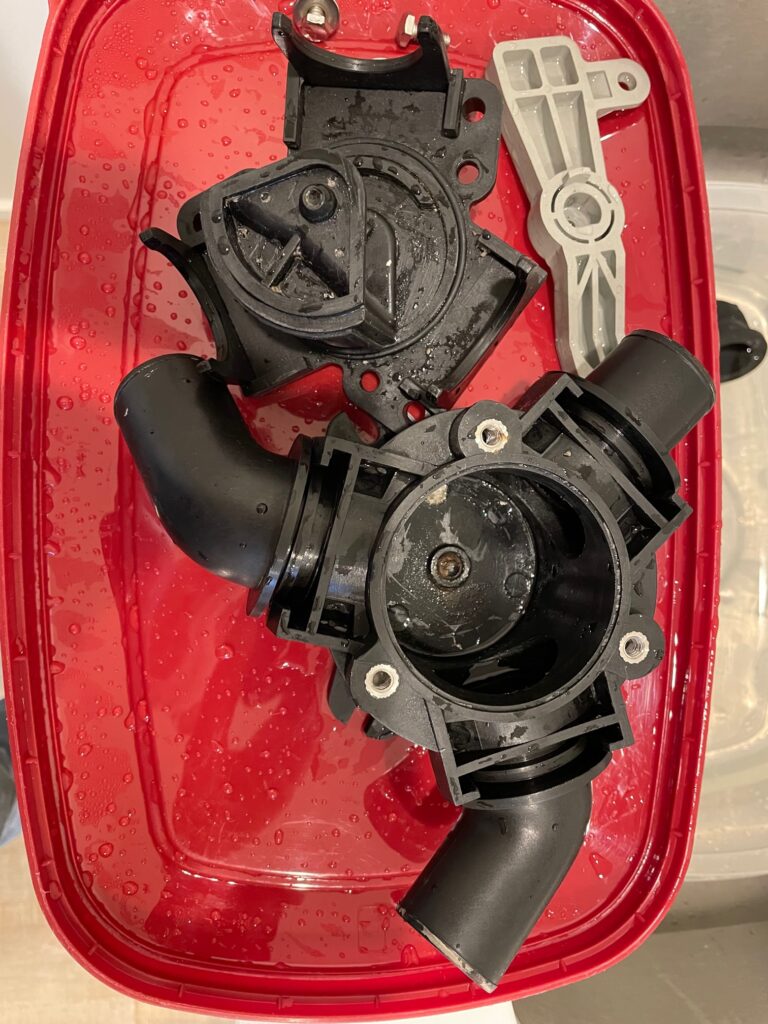
I soaked the Y-valve in a tub of vinegar with bicarb overnight then hand-cleaned until it was like new again.
Putting in the new hoses was more difficult than removing the old ones. With the old ones, I could use a heat gun to get them hot enough to easily remove them from the barbed connectors without worrying about destroying the hose. Installing the new ones I was careful to warm them just enough to make them a bit more pliable. I also used dish soap to help them slide onto the barbed connectors.
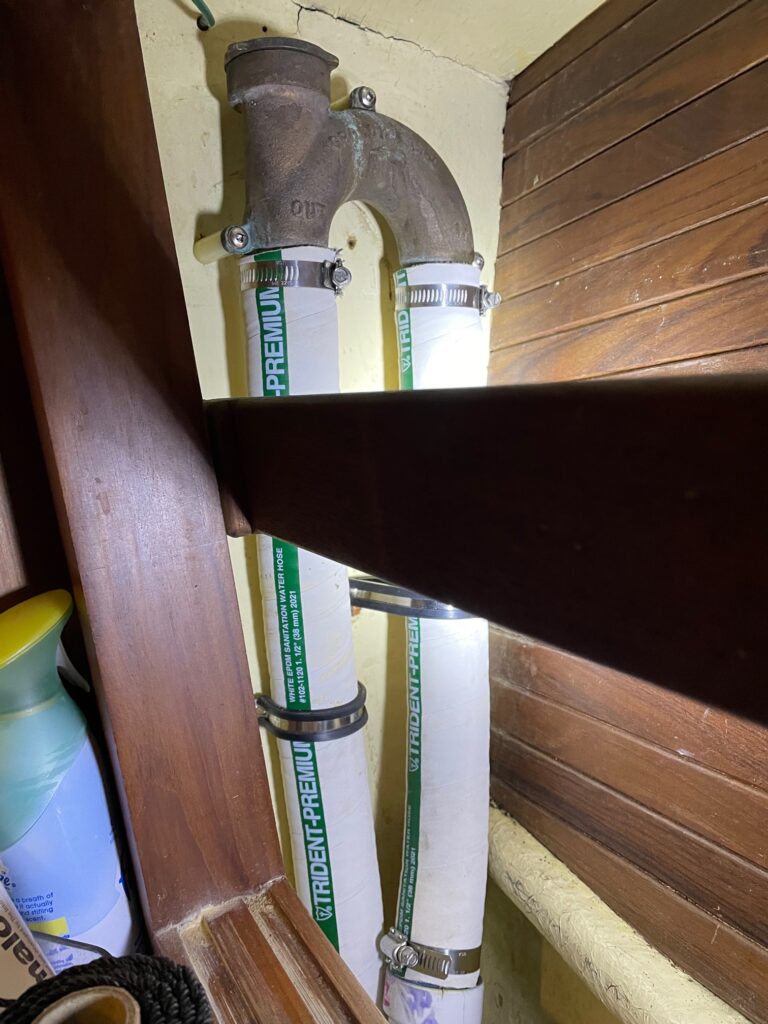
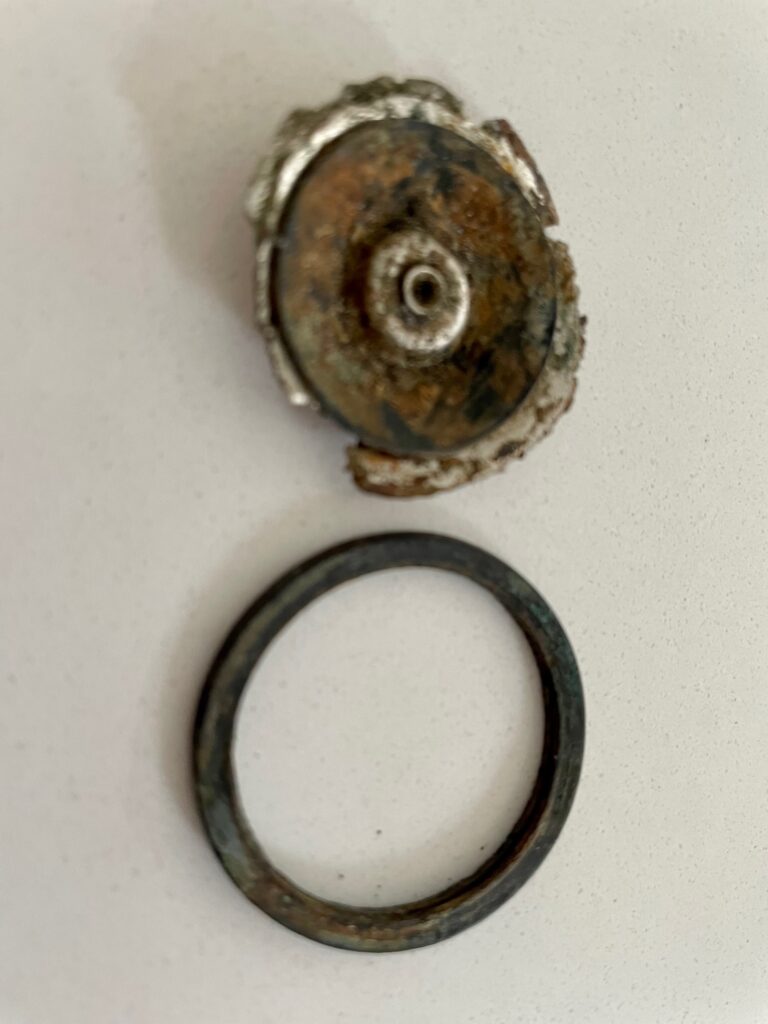
A vented loop (shown above) is used to prevent siphoning of seawater into the boat when the boat heals. It has a cast bronze fitting around 3-4 feet above the waterline. A cap with a 1/4″ hole on top screws onto the top on the discharge side. When I removed the cap, I realized for the first time that there was a special one-way membrane that sits above the loop and is held in place by the cap. It’s job is to allow no liquid to pass through either way, and to allow air to go in, but not out. Here is the condition of the old membrane and o-ring–it’s no wonder why there was an odor when the head was flushed! They should be inspected and replaced if necessary about every 5 years (they sell for a mere $75 and that’s with my customer discount at Fisheries Supply).
With all new sanitation hoses and the Y-valve in place, the next step was the input water. The head requires pressurized input water, so I tapped into my pressure cold water system from a place where a lot of the plumbing exists. I ended up running about 8′ of new hose to match the size of the barb on the electric head rather than use 20 year old hose that was 2 sizes too big and have to reduce it with couplers–the fewer parts with plumbing the better. I decided to wait to do the seawater option until closer to the time when I will need it, but have a plan figured out–it will require another pump and a 1:2 valve.
Next was the electrical work needed to run the discharge macerator/pump. I tied into the circuit that powers the shower drain pump and is controlled by a breaker switch labeled Shower Sump. Since the shower drain is controlled by a float switch, the breaker can be kept in the ON position without the shower pump running. The pump location is under the v-berth, so that is where I tapped into the circuit and ran 12 gauge wire to the head. Next I installed the control switch for the head and ran wires from there to the head location.
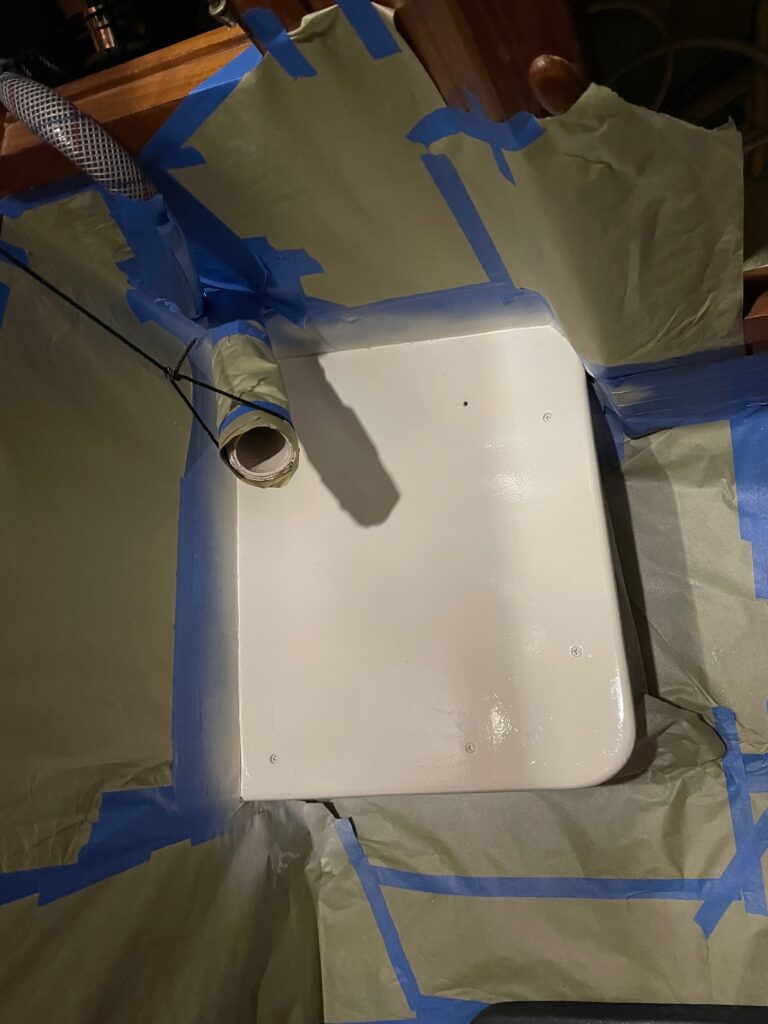
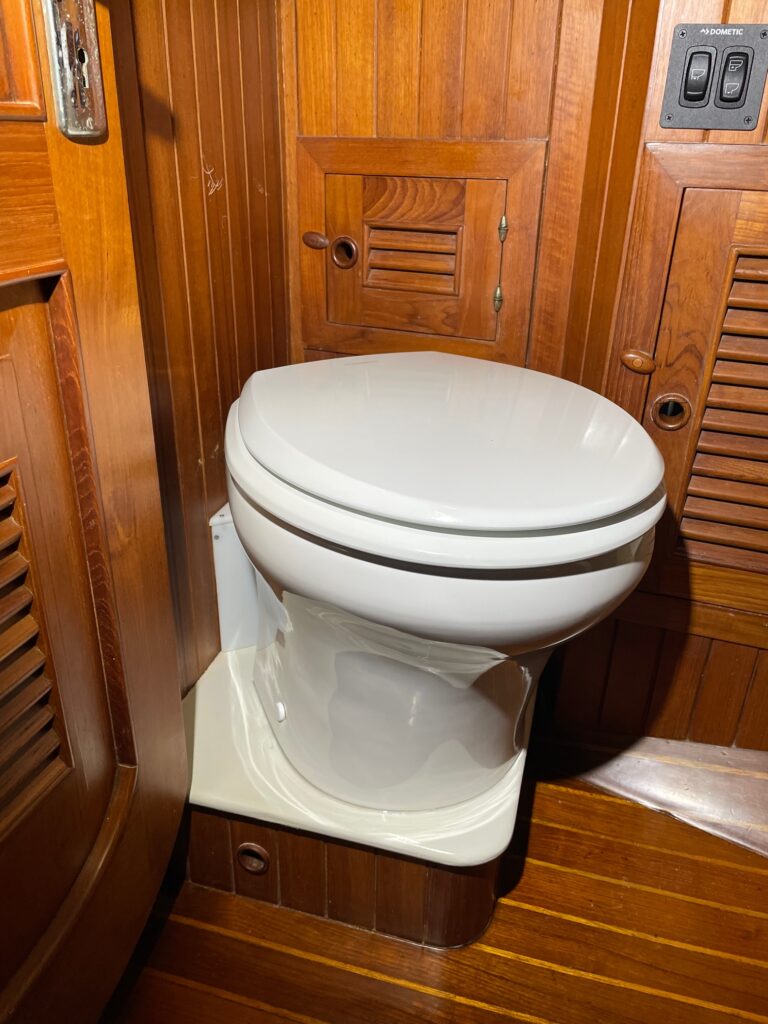
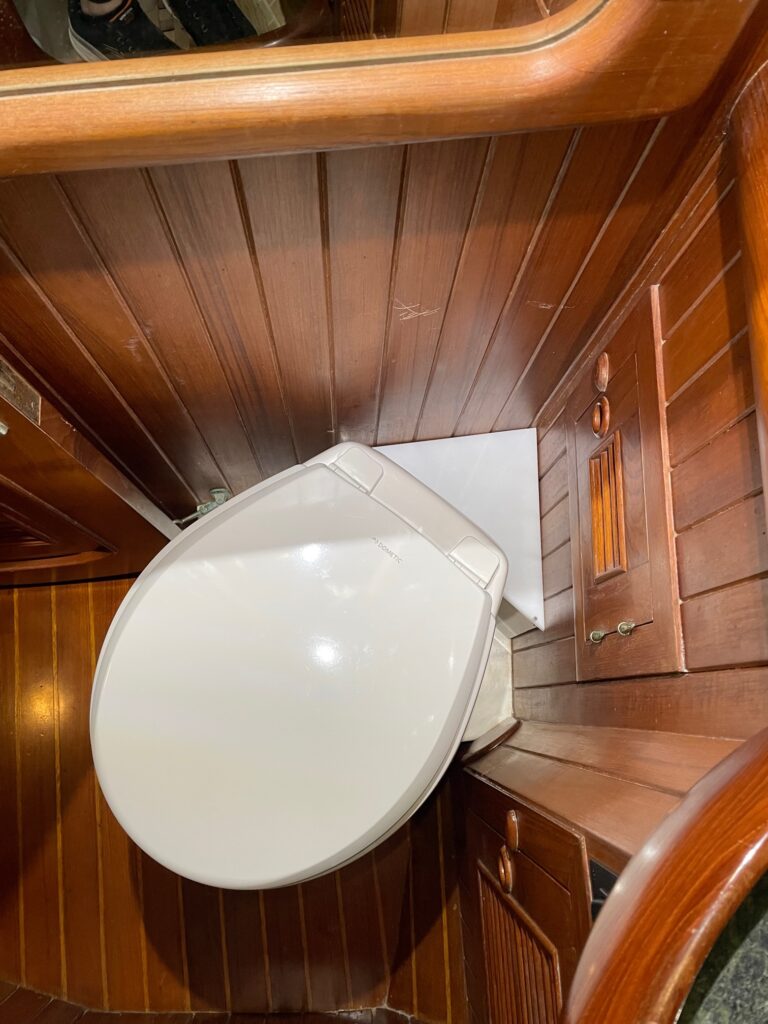
After all that work, it was time to install the head. It was critical to choose the exact position to make sure there was enough room for the seat to stay up, enough room to stand in front of it when using the sink, and enough room to allow the door to close without hitting the seat. Similar to the old head, I set it at an angle on the platform. But before screwing in the 2 brackets, I had to first connect the water supply hose, the discharge hose, and the electrical wires. I also filled in all the old holes in the platform and gave it 2 coats of fresh paint.
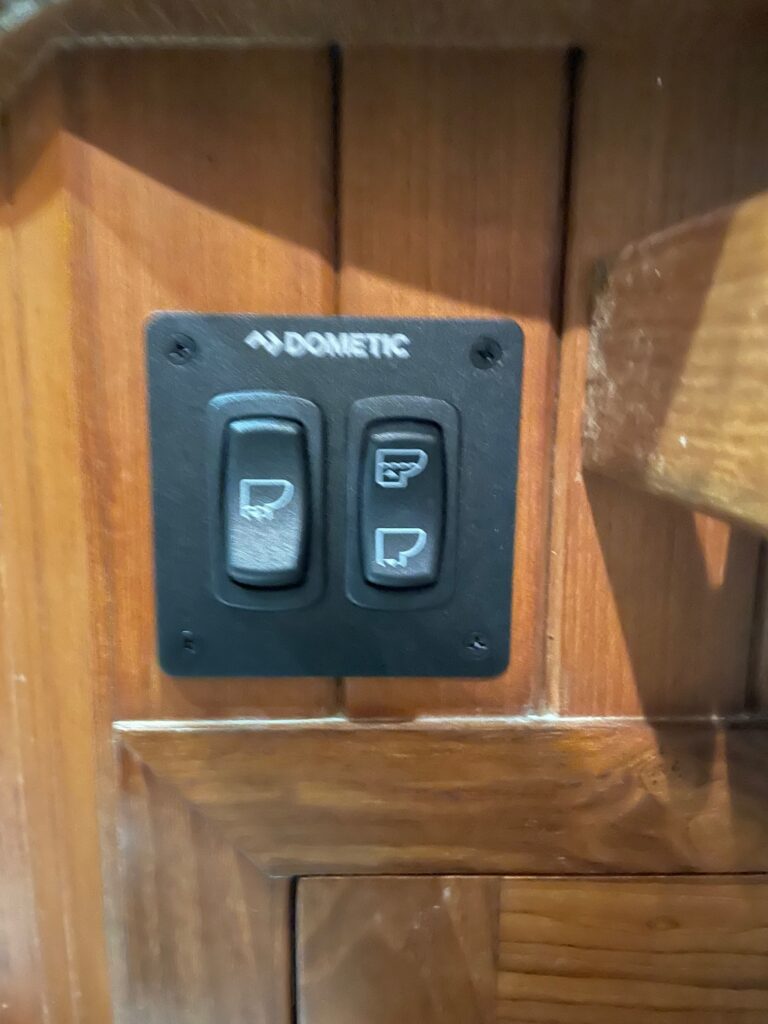
After bolting down the head, I turned the power on and tested it out. The control has 2 switches–the one on the left fills and flushes at the same time, the one on the right has a fill position and flush position so you can control the amount of water being used. After everything checked out ok, I applied a bead of clear silicone caulk around the base of the head and boxed in the top and sides where all the plumbing and electrical connections are with white Starboard. This gave it a more finished look and will make it easier to keep clean. Here’s some pictures of the finished project.
Conclusion
I’m hoping that by using freshwater for the head most of the time, that will help keep the discharge hoses from accumulating mineral buildup. In taking apart the Y-valve, I realized how easy it is to remove the 3 screws holding on the cover to inspect/clean it annually to prevent buildup in the valve. I also bought a product called Unchloric Acid that can be used annually to help with the mineral buildup inside the discharge hoses and Y-valve.