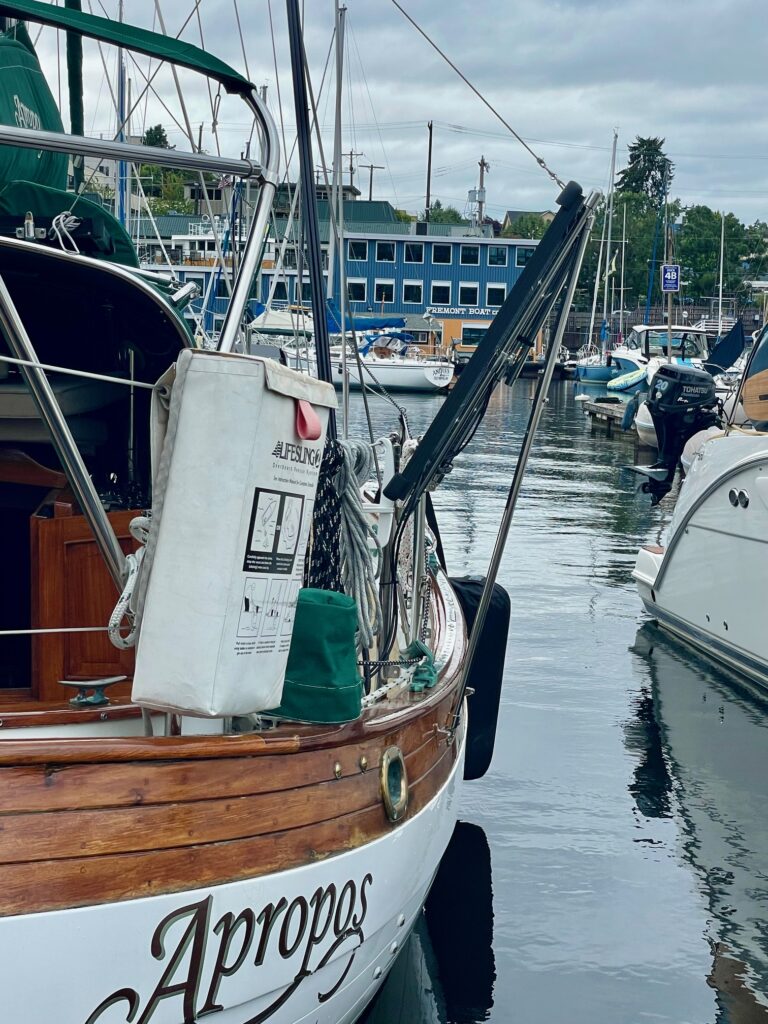
The solar panels that I had installed on Apropos were now 12 years old. They consisted of 2-85W, 2-95W, and 1-135W panels for a total of 495W. PV cells and solar panels have come a long way in 12 years. Increases in efficiency, flexible panels that can be walked on, bi-facial panels and better solar controllers are some of the changes that have occurred over the past years. Also, the price of solar cells have decreased dramatically.
The old solar panels were aboard Apropos during the 2014-15 trip to the South Pacific. The 2-85W panels sat on the deck against the butterfly hatch port and starboard, 2-95W panels were mounted outboard the lifelines port and starboard, and a 135W panel atop the dodger. The 2 on the deck were easily moved while at anchor to either side depending on the sun position. The system worked well and we were able to run all the electronics and have refrigeration and watermaker (run only with engine). We didn’t use autopilot (windvane was used instead) and had to shut down the freezer due to its frequent cycling.
There were several goals in upgrading the solar. More total PV watts, better placement of panels, better panel adjustments, and easier/quicker removal of panels from outboard mounts.
The new solar panels are 2-200W bifacial monocrystalline. Bifacial panels have additional, lower-grade solar cells on the backside of the panel to increase the efficiency/area. Most rooftop mounts can’t take advantage of bifacial panels, but the outboard mounts on a boat are ideal for bifacial panels where UV rays reflect off the water and hit the backside. The new 200W panels are approximately 30″ x 54″, 50% bigger than the 95W panels and 100% more wattage.
Mounting
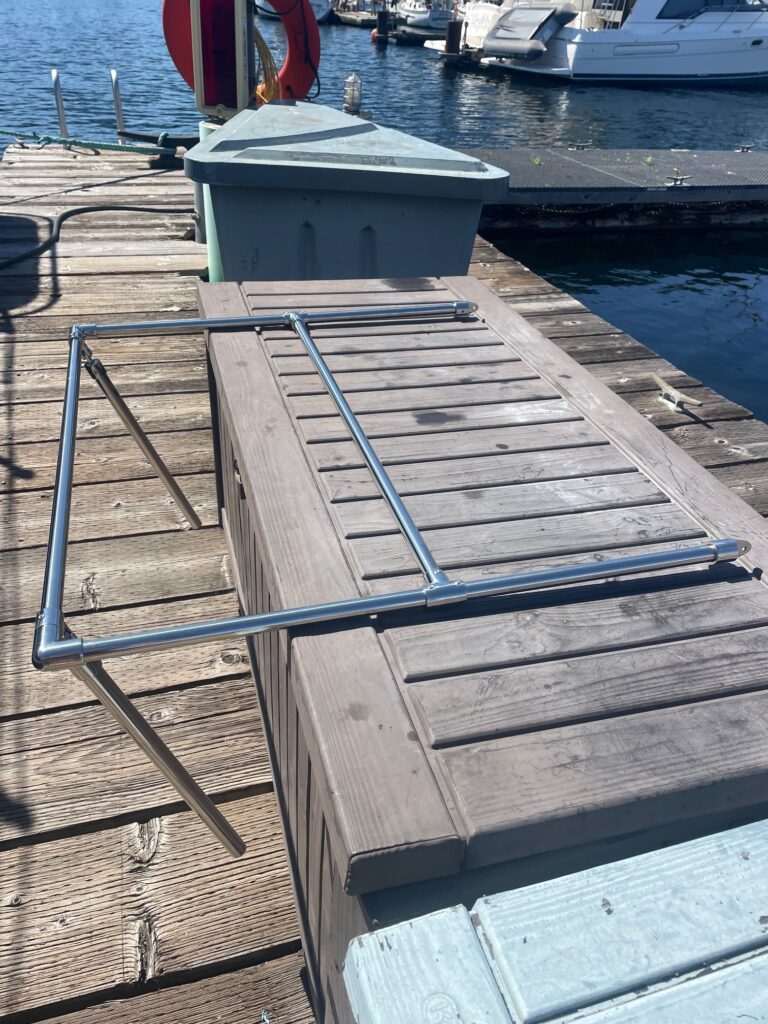
The increased size and weight of the new solar panels required a stronger mount. I built similar U-shaped frames out of 7/8″ stainless steel tubing as last time, but this time included an extra horizontal arm for better support. I also went from using a single strut to using 2 struts that support the frame to the hull. The frame attaches to 2 stanchions using spring pins, same as before. Two goals I had for the mount was to make the solar panels easily removable, and to make the panels adjustable. I decided on 3 settings– a 6 degree off horizontal, a 23 degree tilt away from the boat, and a 20 degree tilt toward the boat. This is accomplished by using 1″ thin walled tubing and 7/8″ thick walled tubing for the two struts. This allows the 7/8″ tubing to slide inside the 1″ tubing. The 23 degree tilt away from the boat is set by the length of the 7/8″ tubing (24″). The 6 degree horizontal position is accomplished by inserting a pin or bolt into a hole in each strut. Likewise, the 20 degree tilt towards the boat by inserting a pin into the 2nd hole in each strut. The panels can also be moved into an up position to get them out of the way during docking or going through locks.
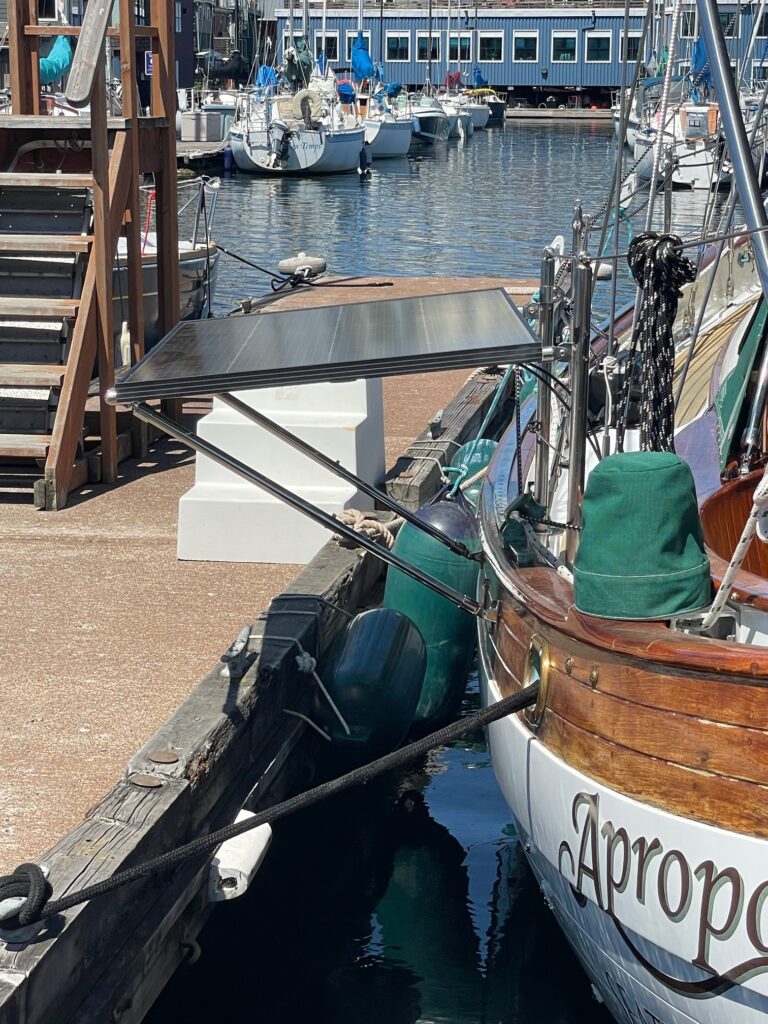
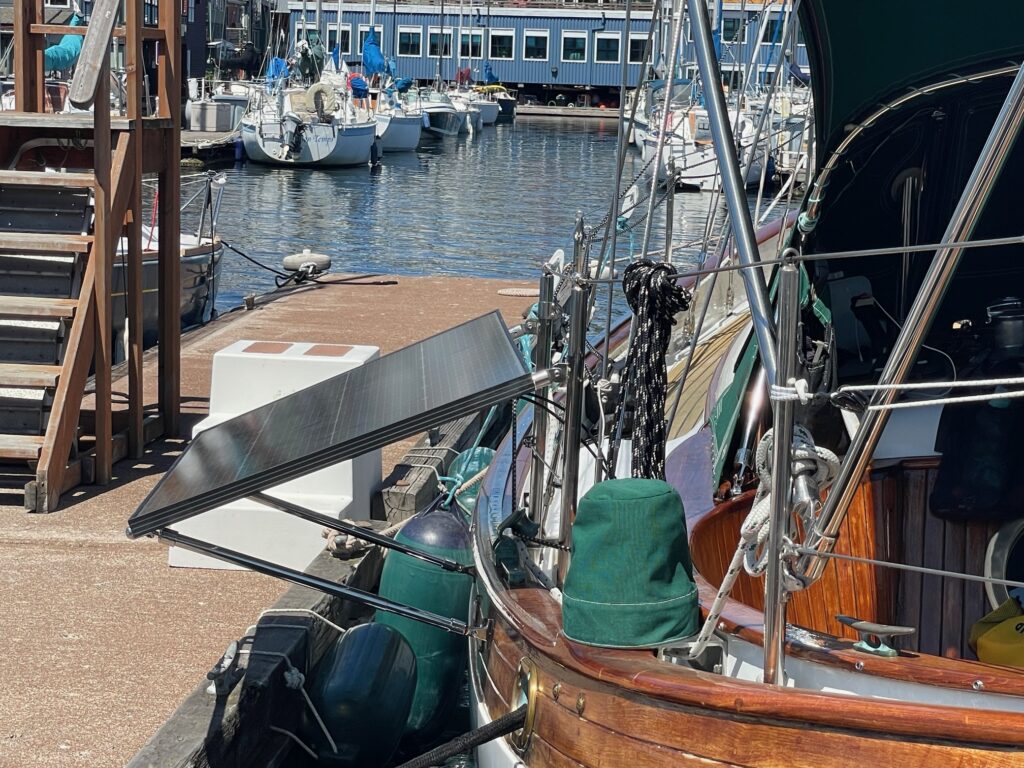
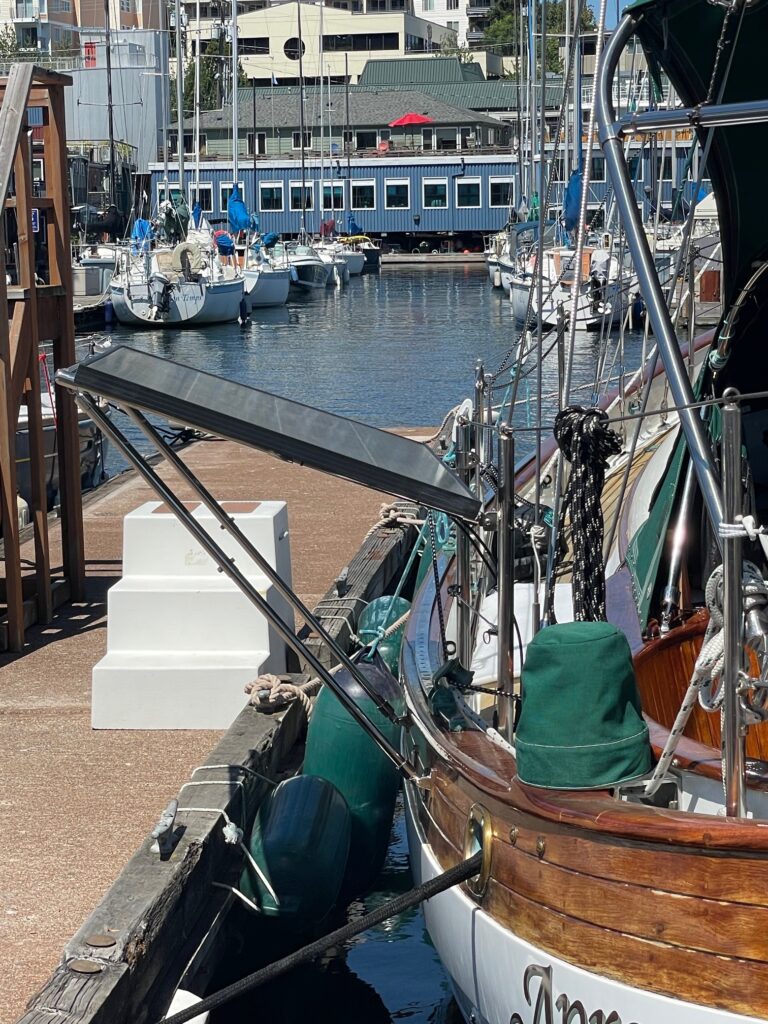
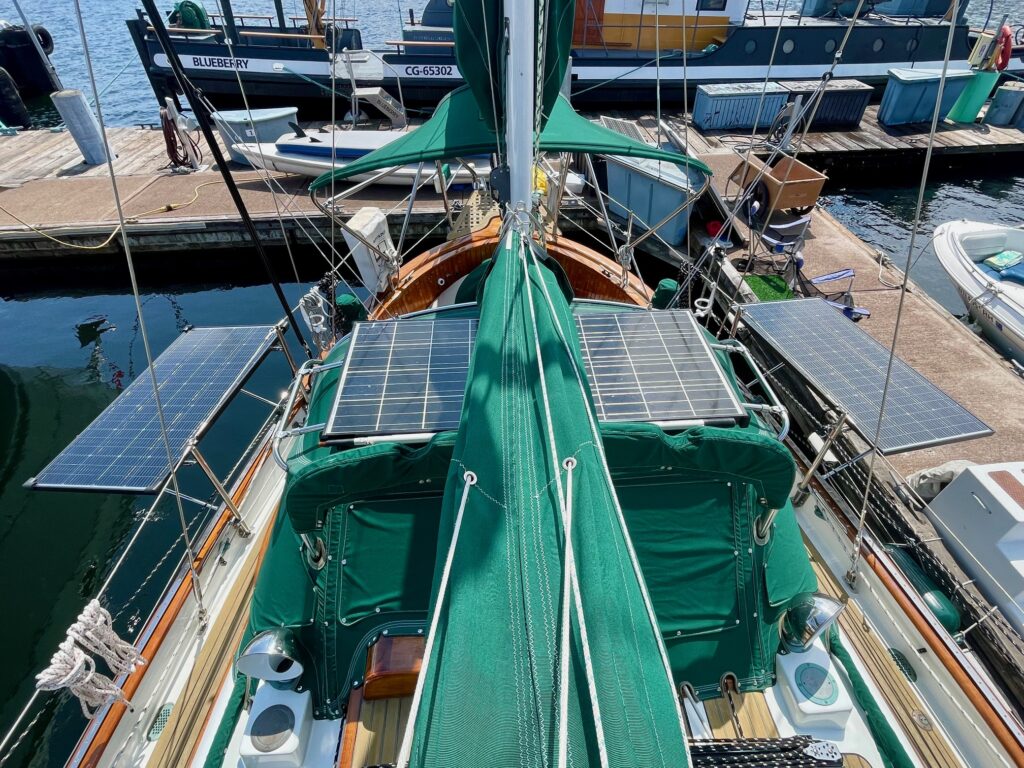
The panel position is made easier to set with the addition of a line that is led from the panel, through a low friction ring lashed to a shroud, to a cleat on the dodger. I marked the line for the different panel positions. This makes it a 1-person job to change the panel angle or stow in the up-position.
