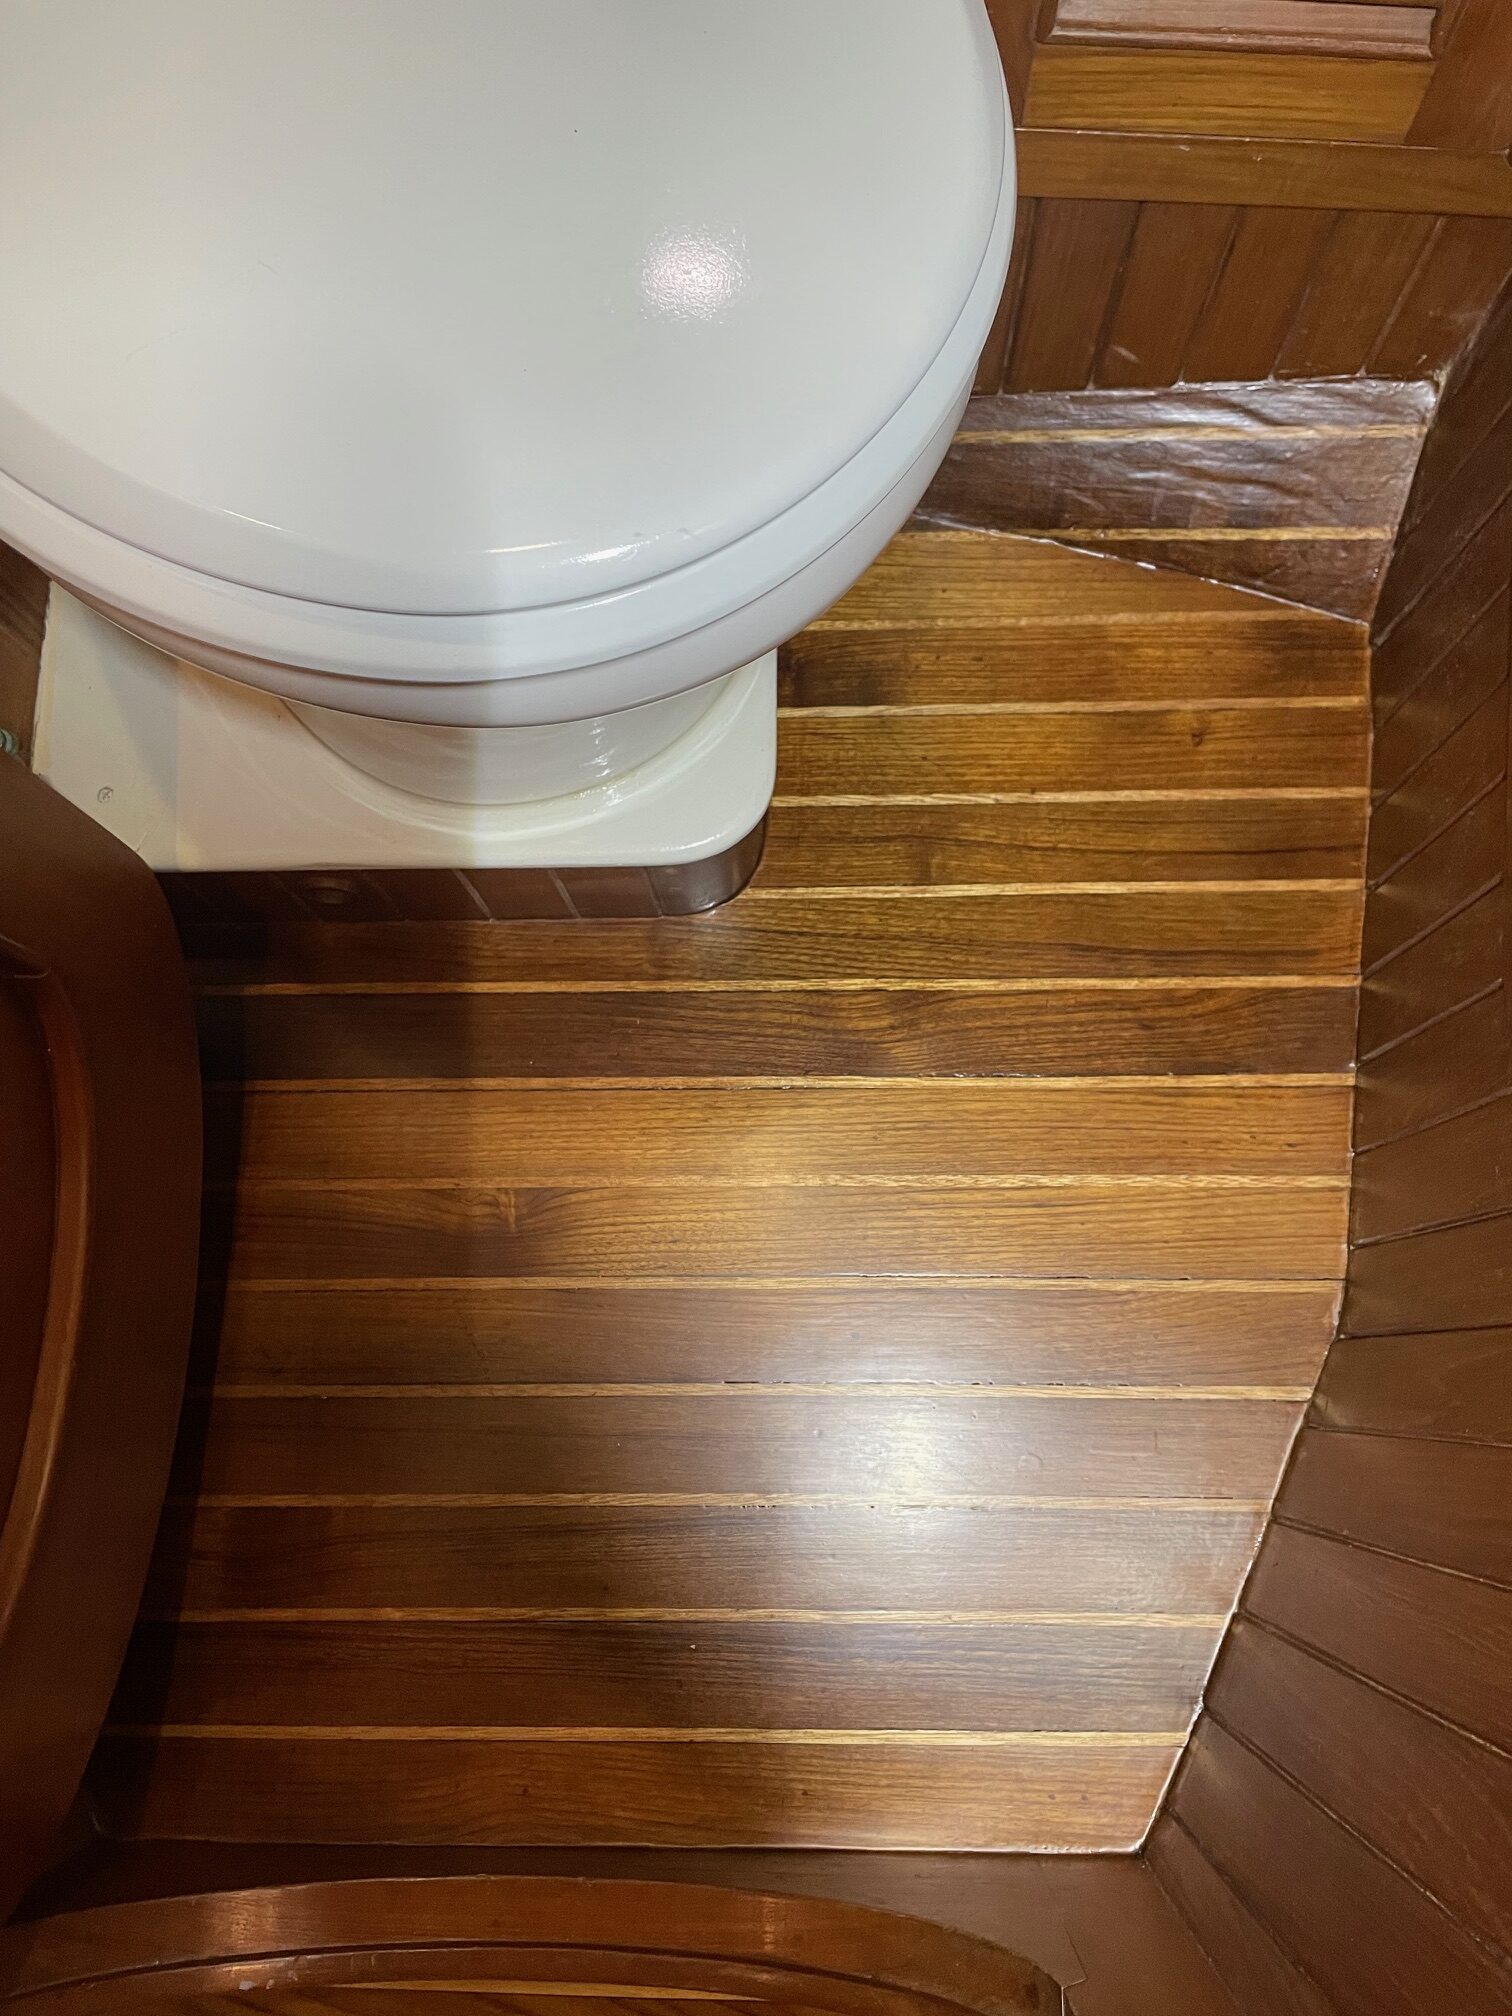
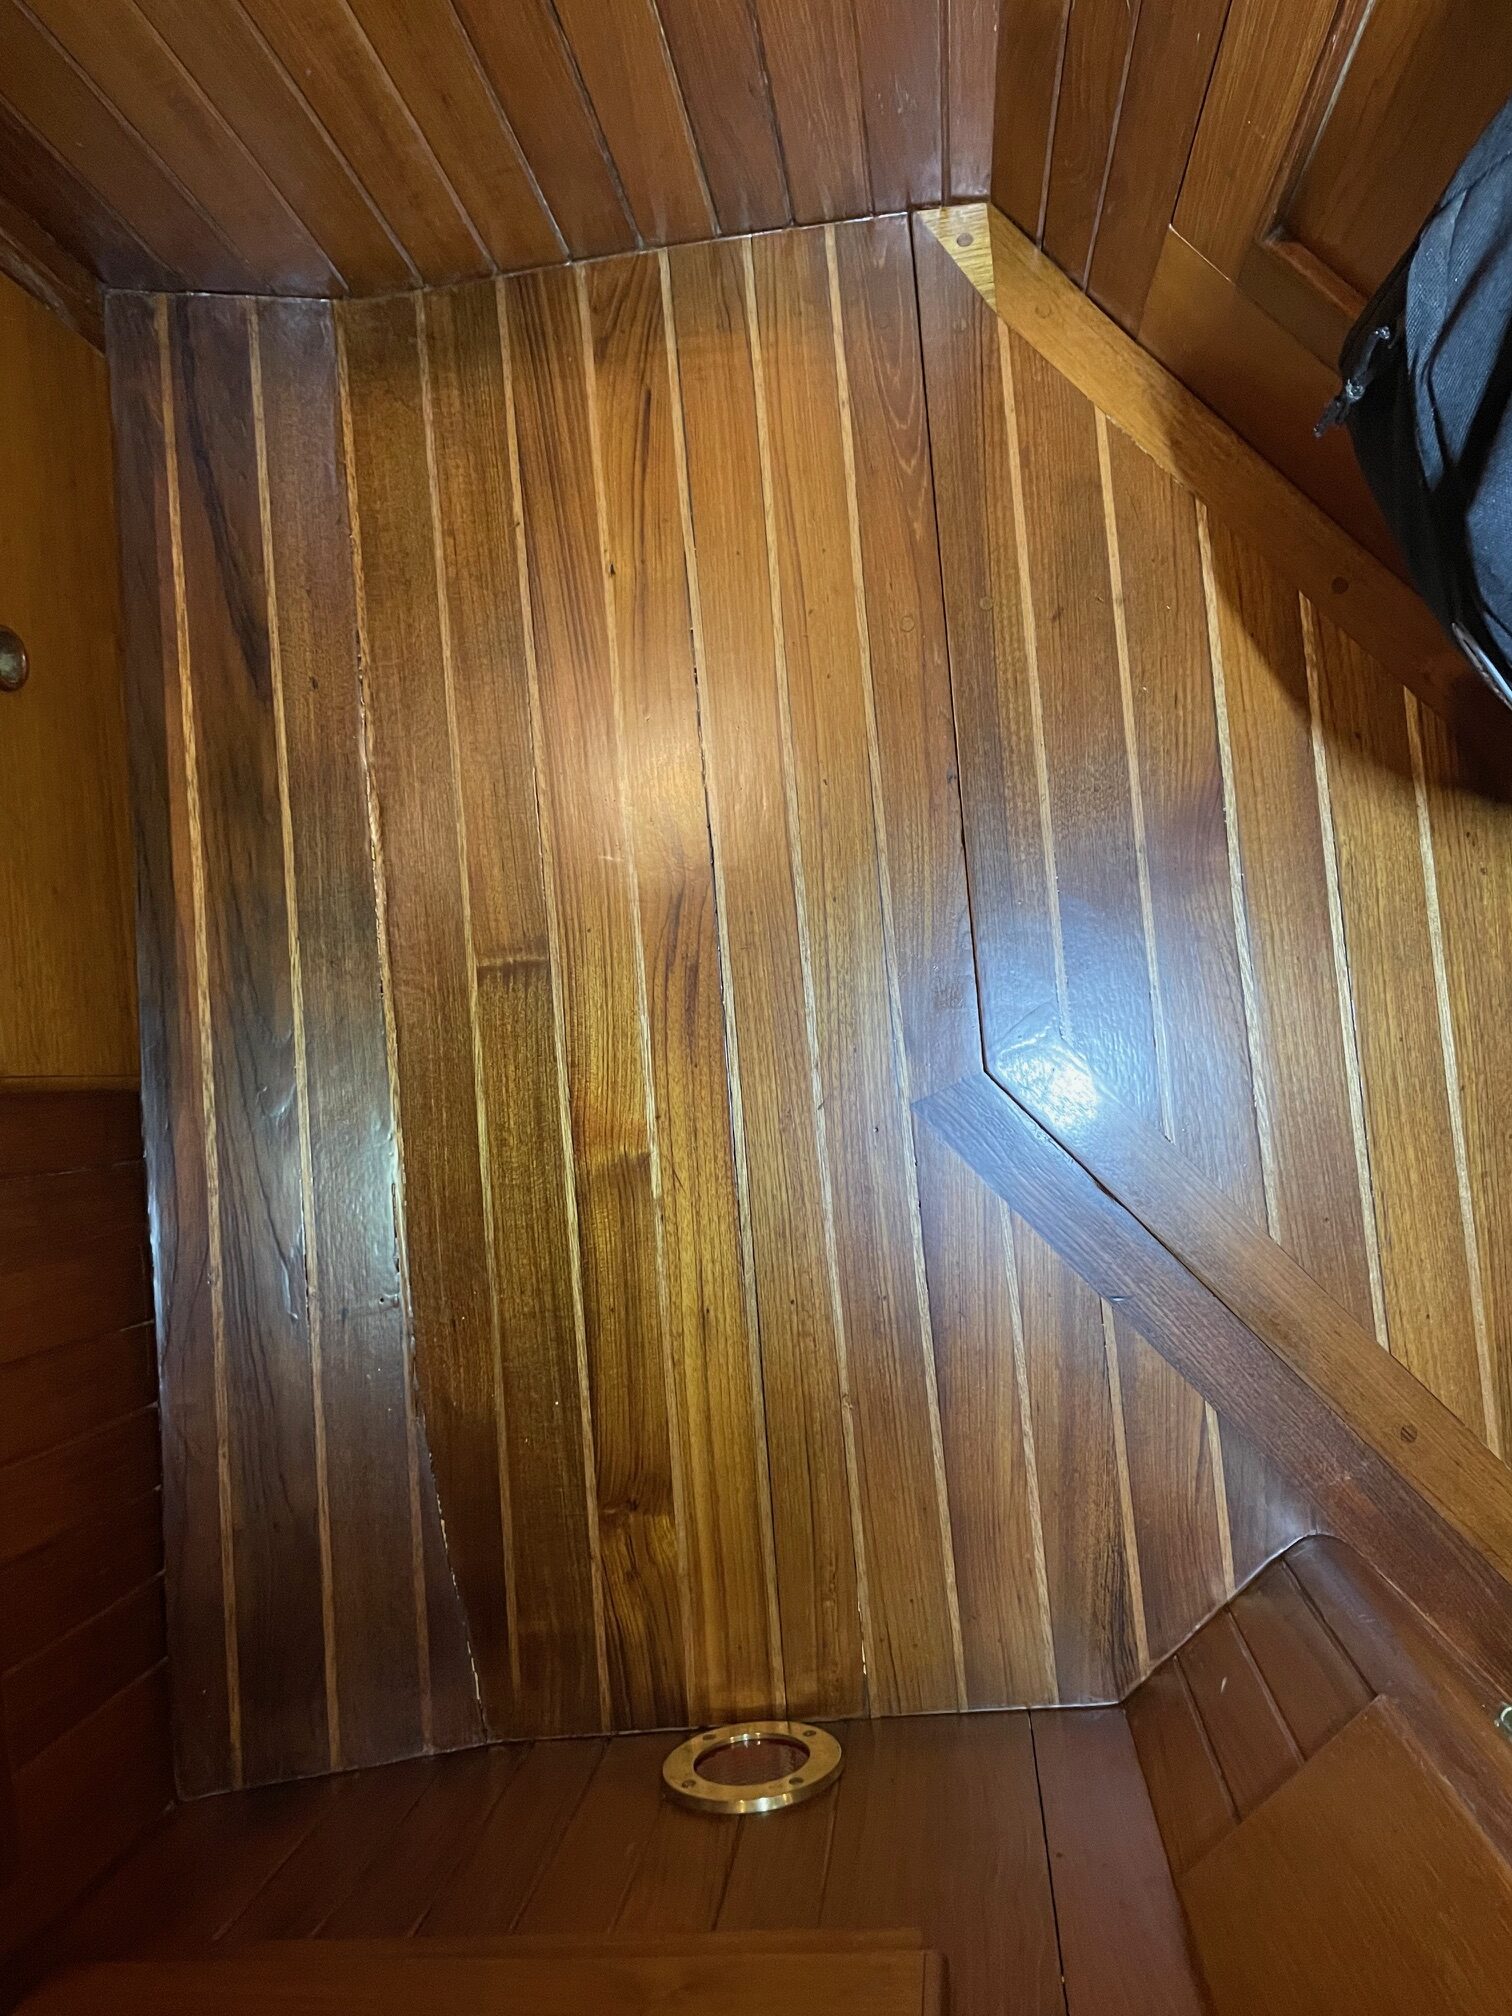
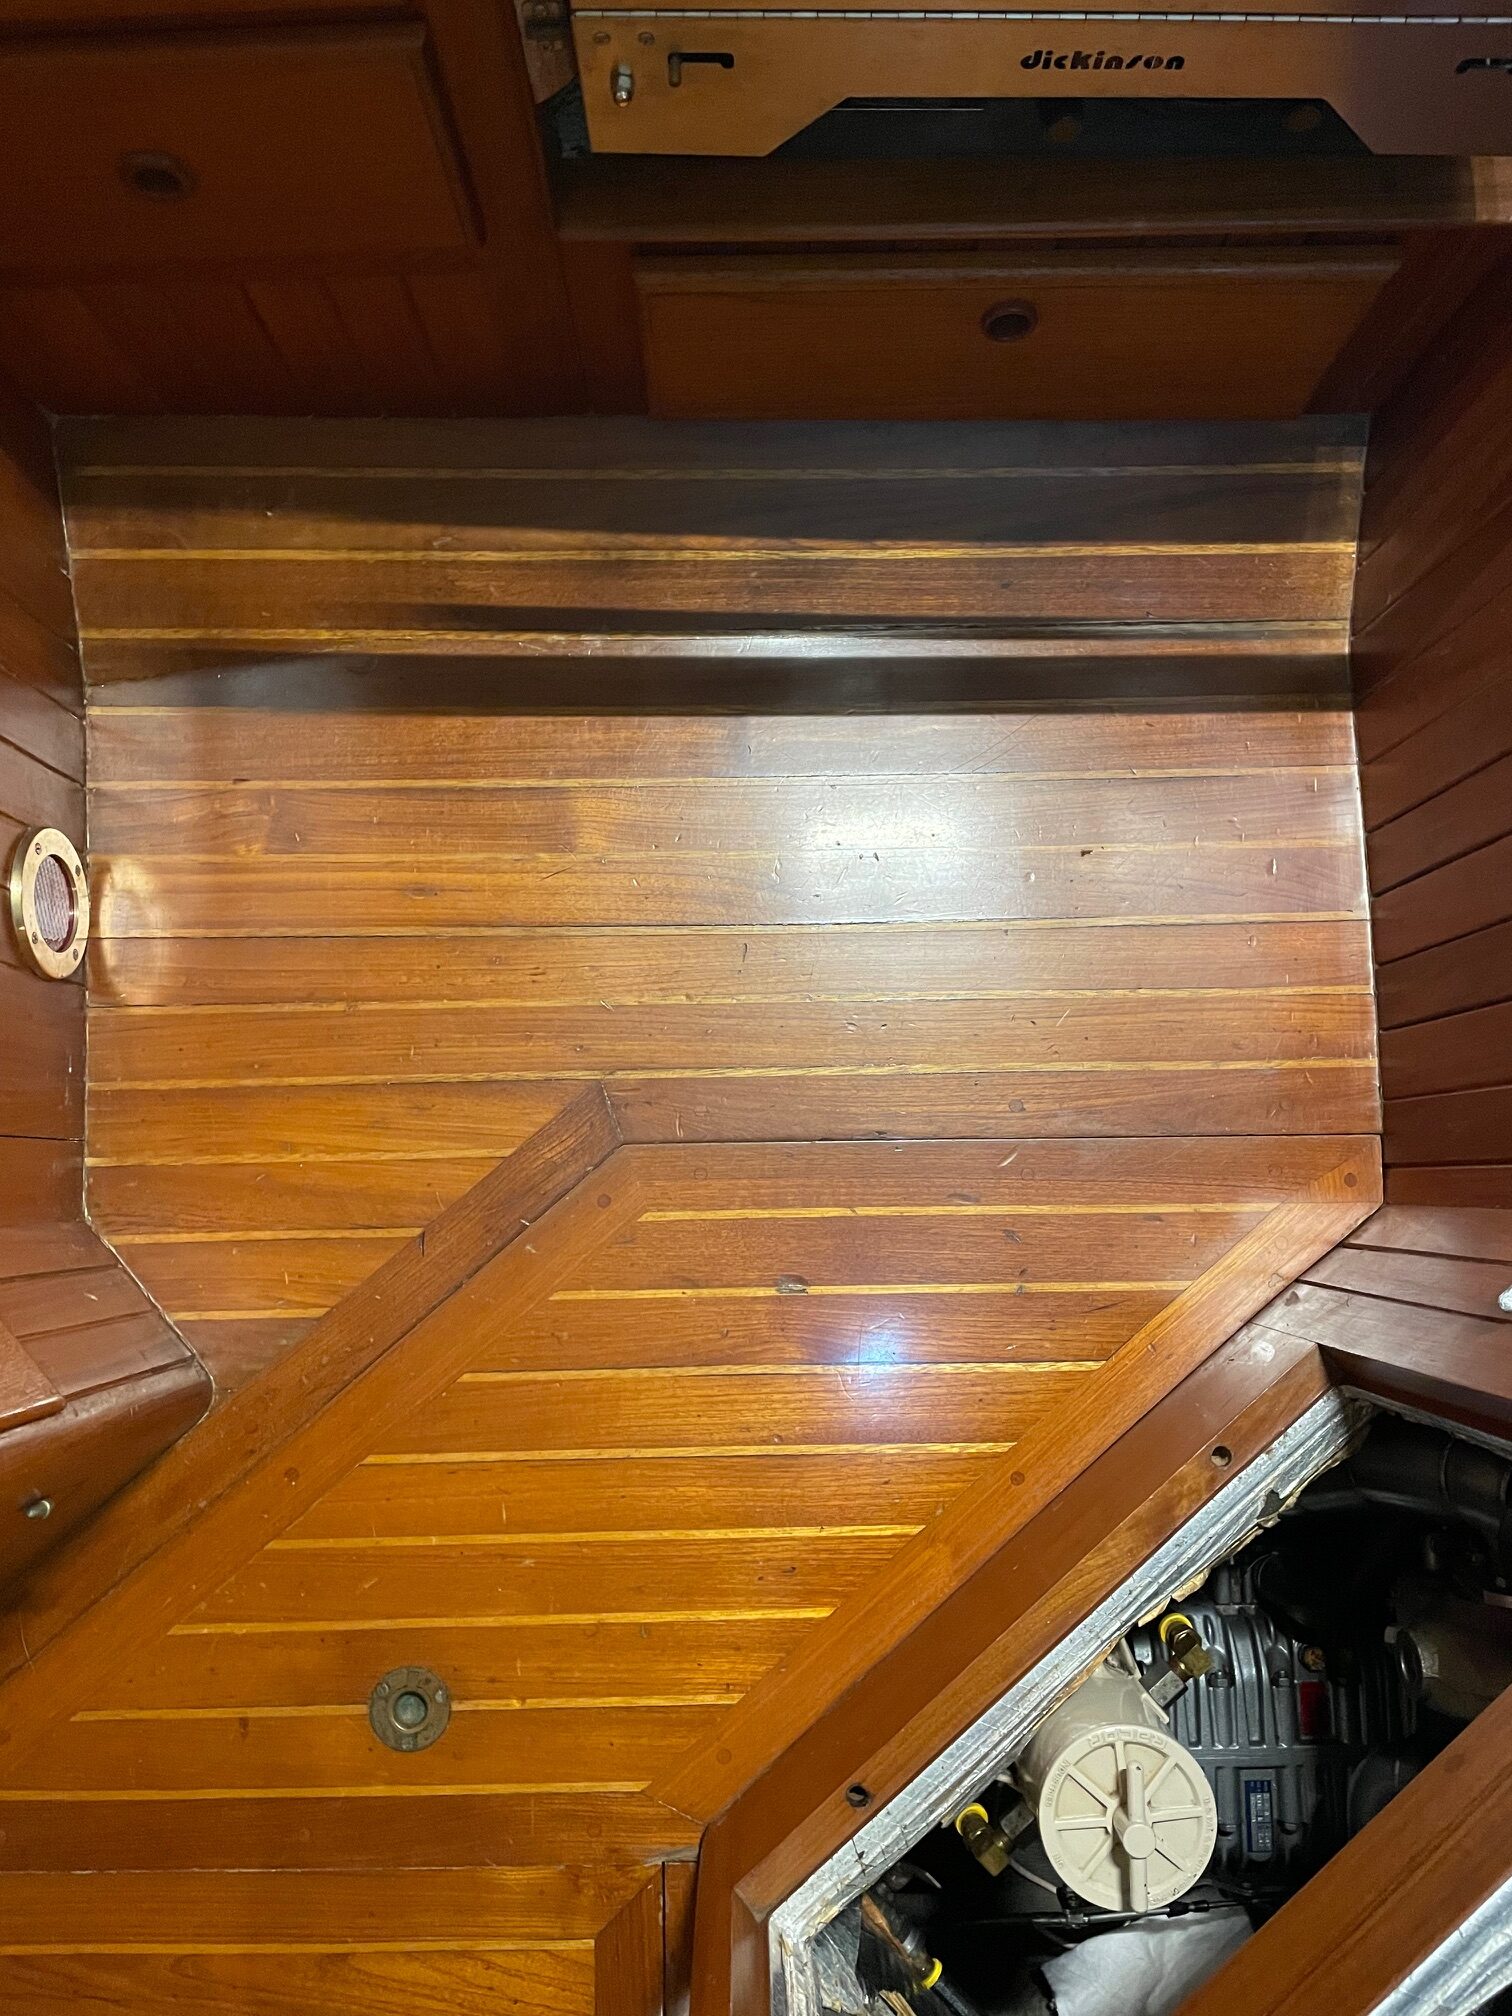
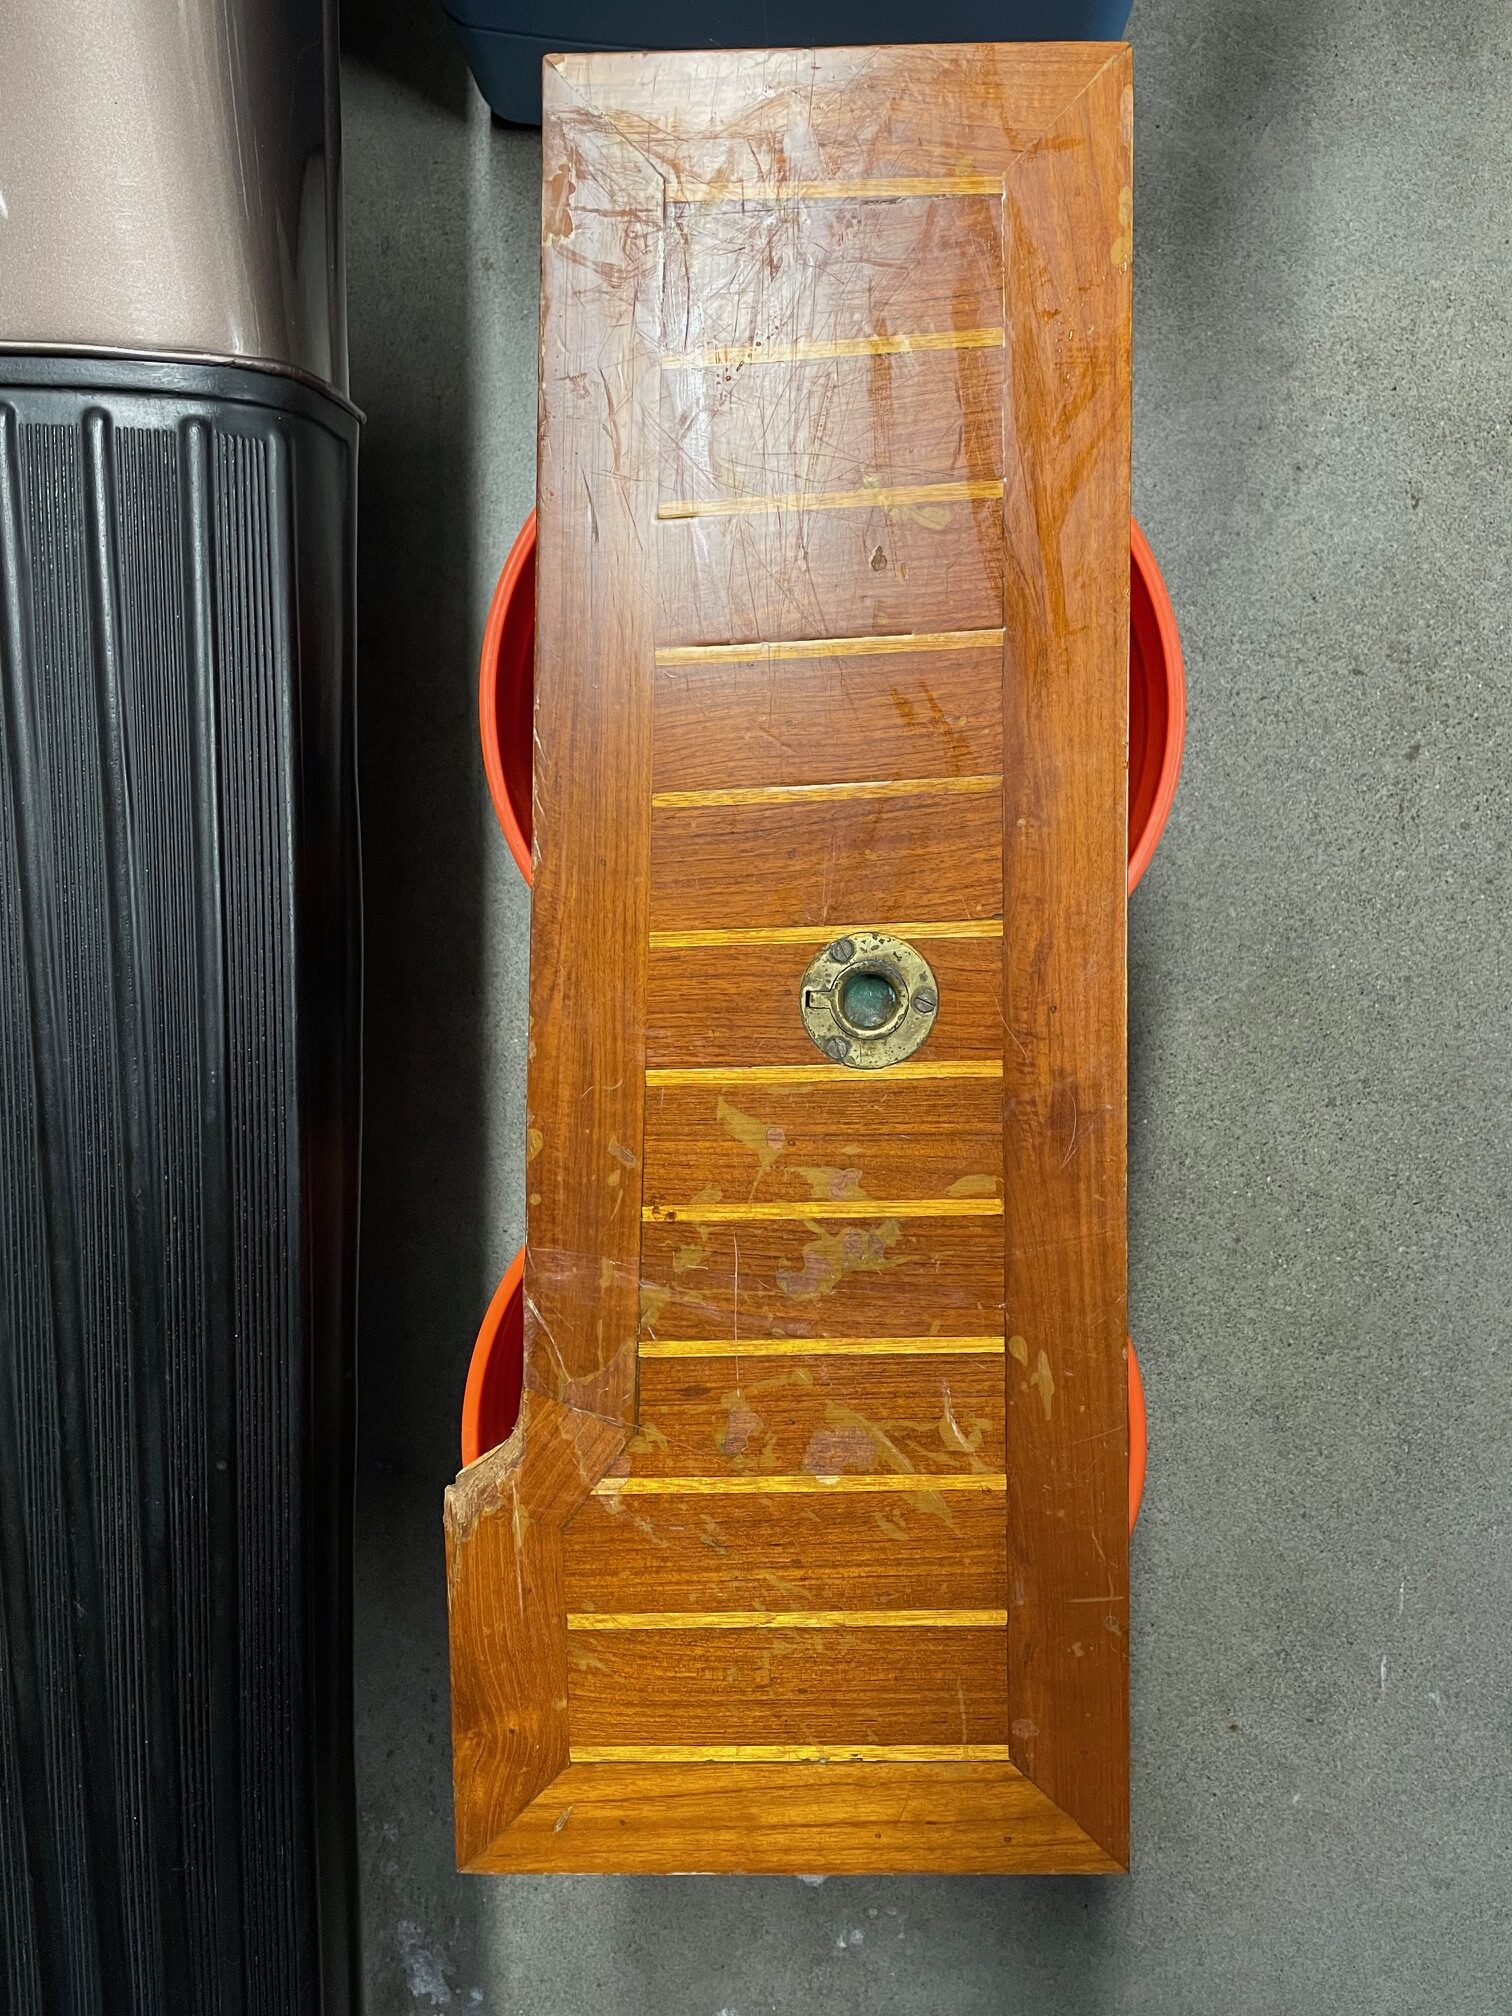
When we bought Apropos in 2005, the teak cabin sole was in good shape for a 22 year old boat. The boat was lightly used during those 22 years and actually sat unused for 10 of those years. But after owning the boat for 21 years and sailing an estimated 25,000 miles, the finishing on the cabin sole was worn, with plenty of scuffs and scratches and even some dents from things flying around the cabin. So I decided to refinish the entire cabin sole. Shown below are a few pictures taken before I began–on the left is the galley floor and on the right is a panel that lies next to the part of the setee that is movable for accessing the front side of the engine. That section slides along the top of this panel, and has damaged the finish.

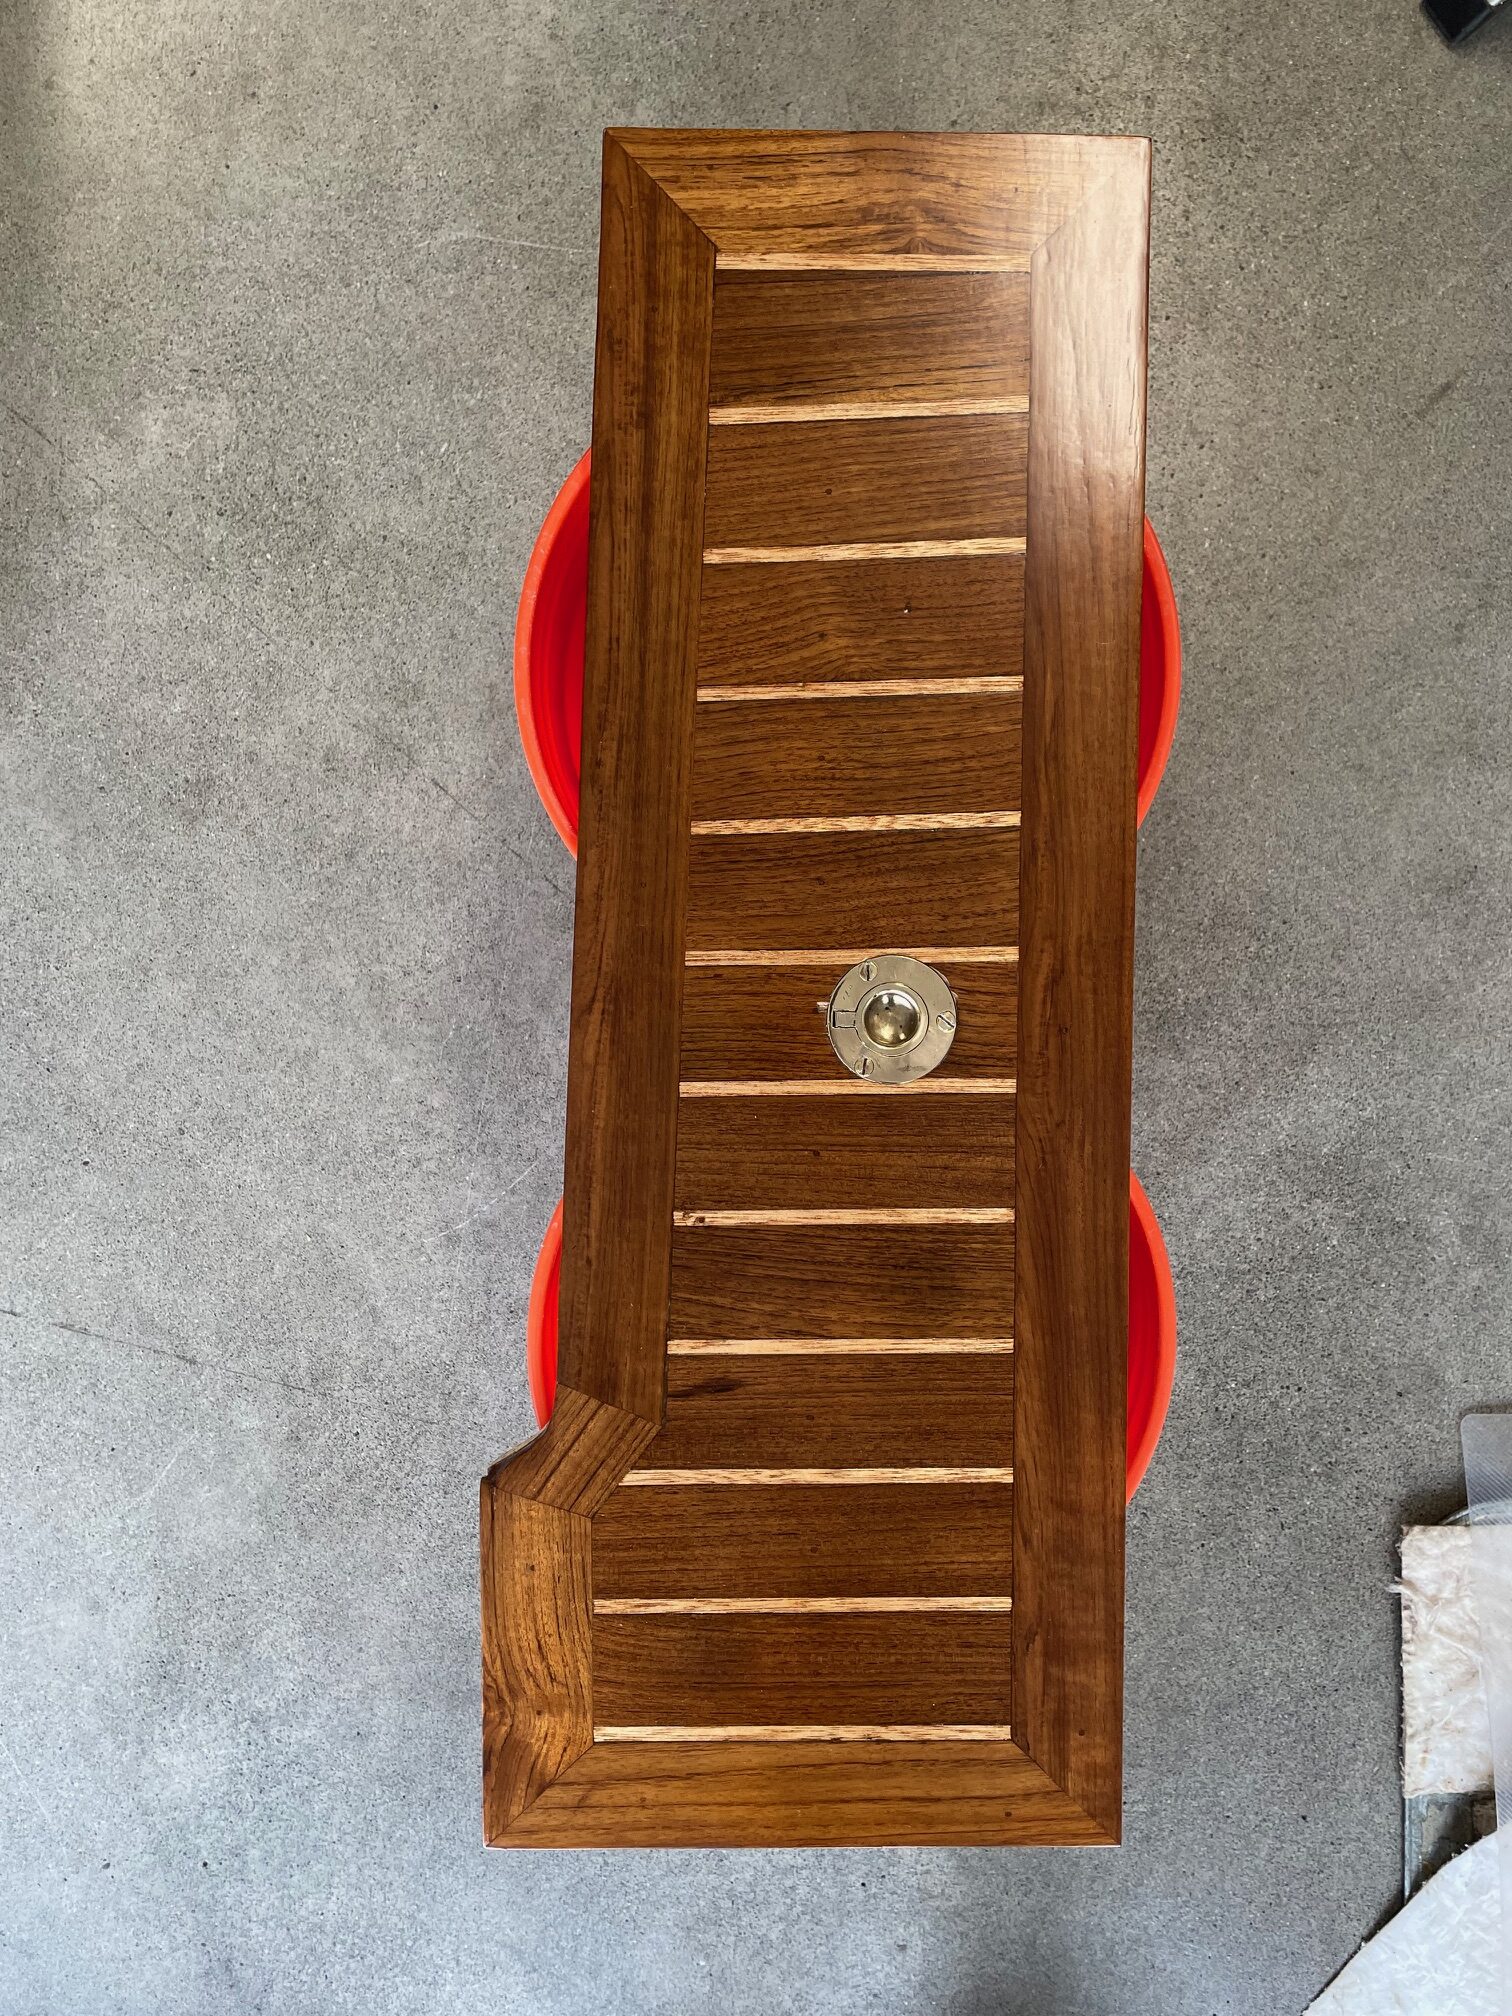
The sole is made of 2″ wide solid teak planks with 1/4″ strips of holly. Both teak and holly are rot-resistant hardwoods. The combination is a traditional look the provides a nice contrast between the dark teak and light holly. The solid teak and holly are 3/8″ thick, and glued to 9/16″ thick marine hardwood. Boats made in the 1970’s-1980’s used old growth teak which was plentiful 50 years ago. Today, most teak is plantation grown and what very few boats that use teak, use only a thin veneer over plywood.

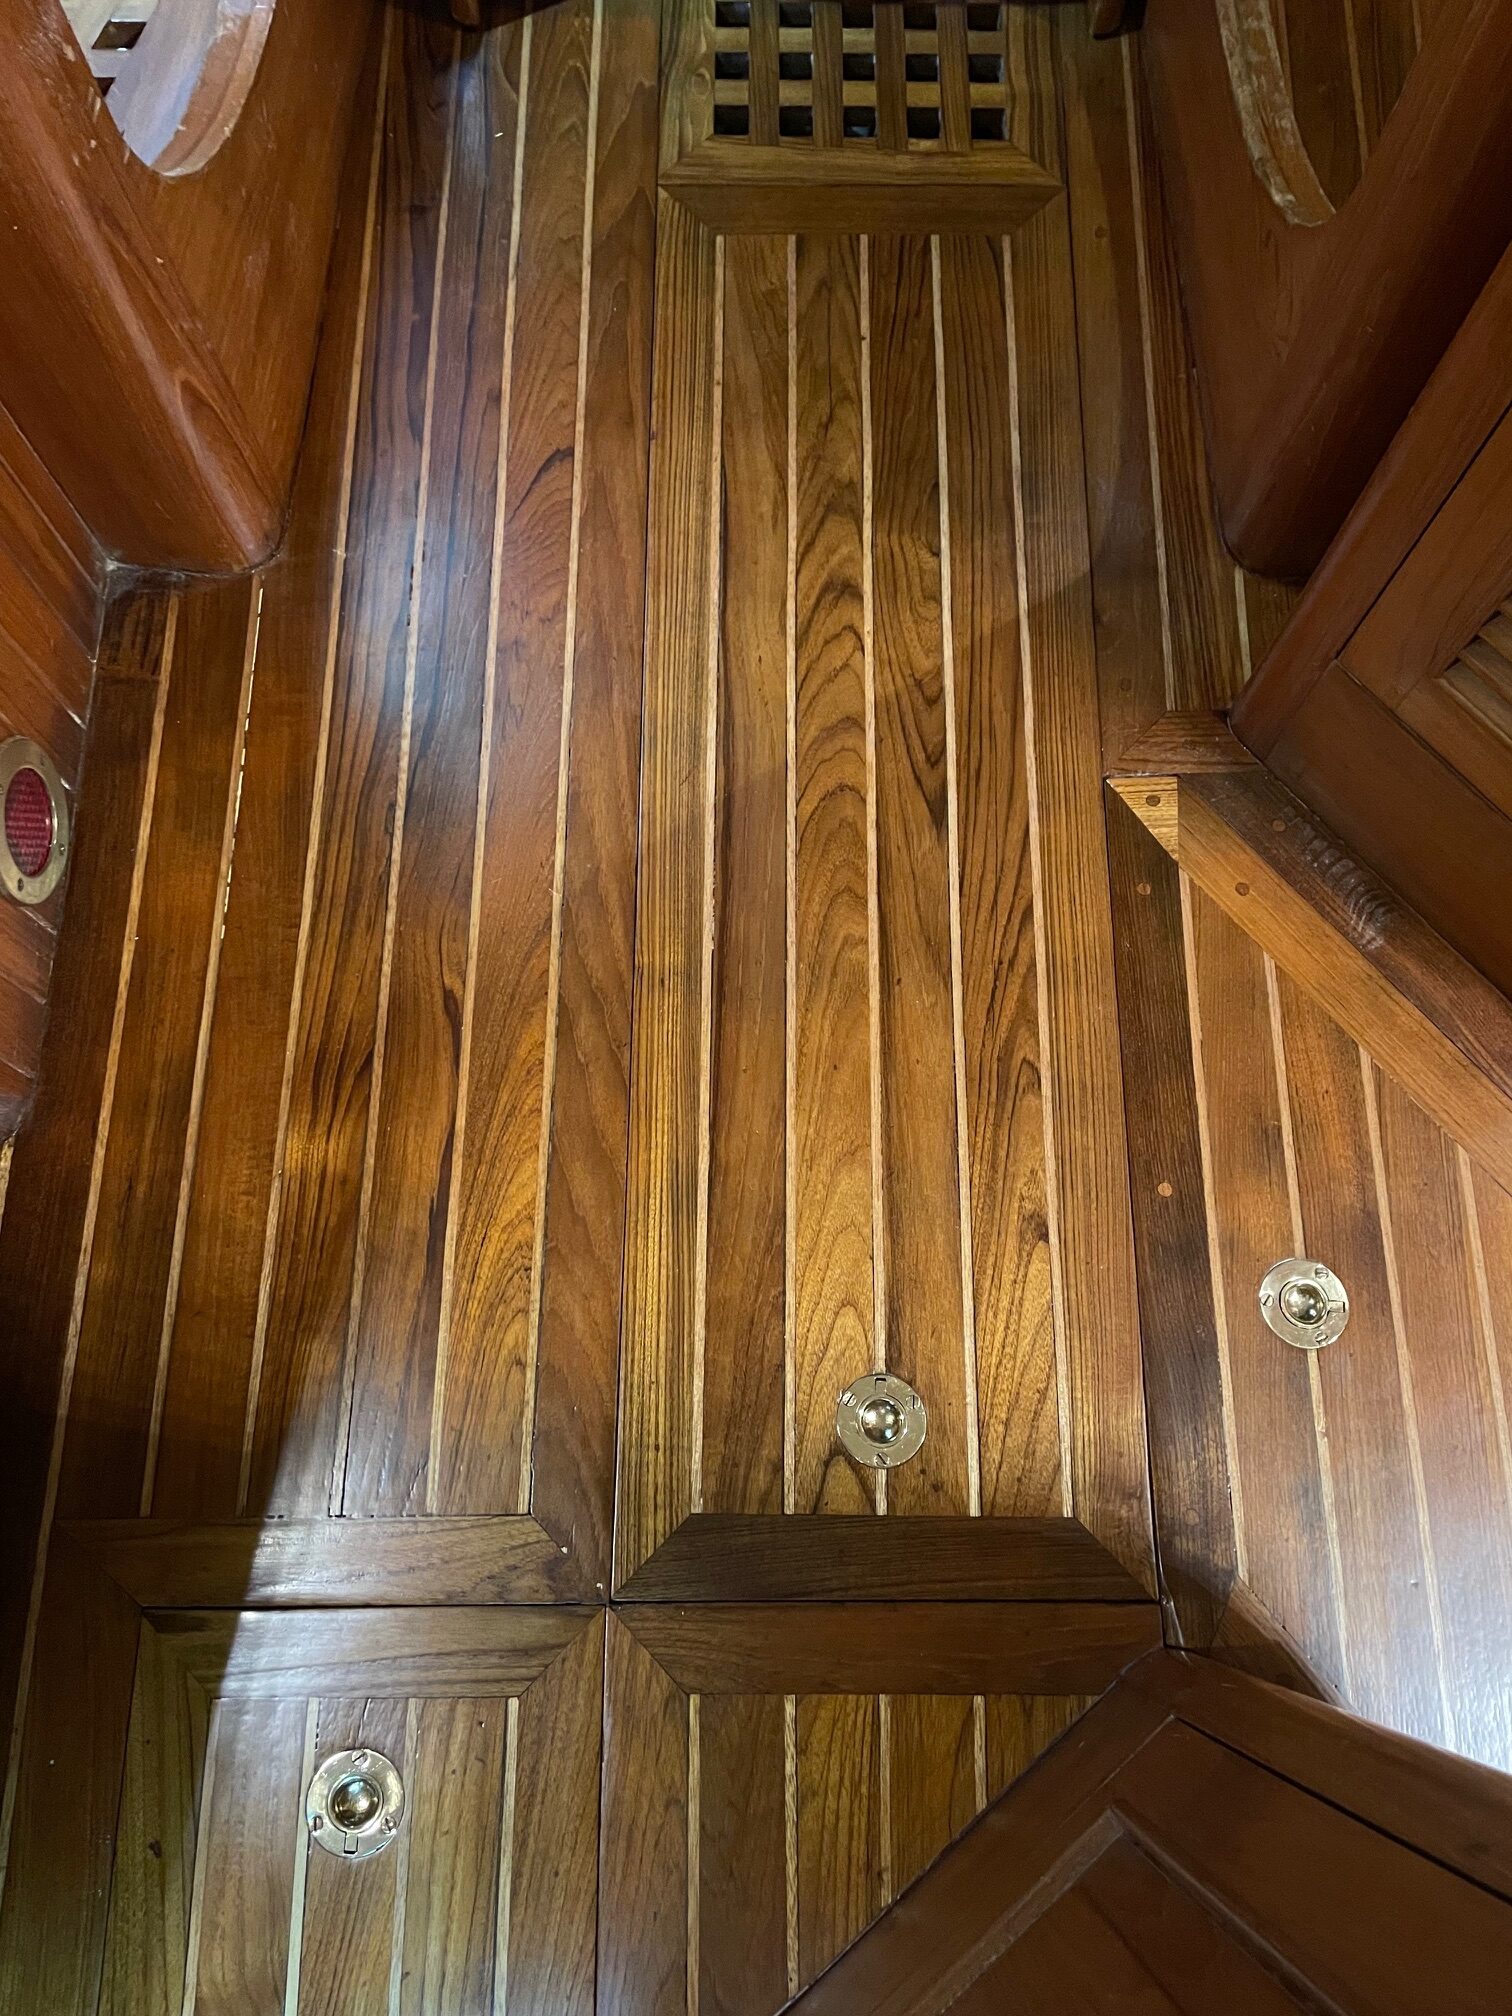
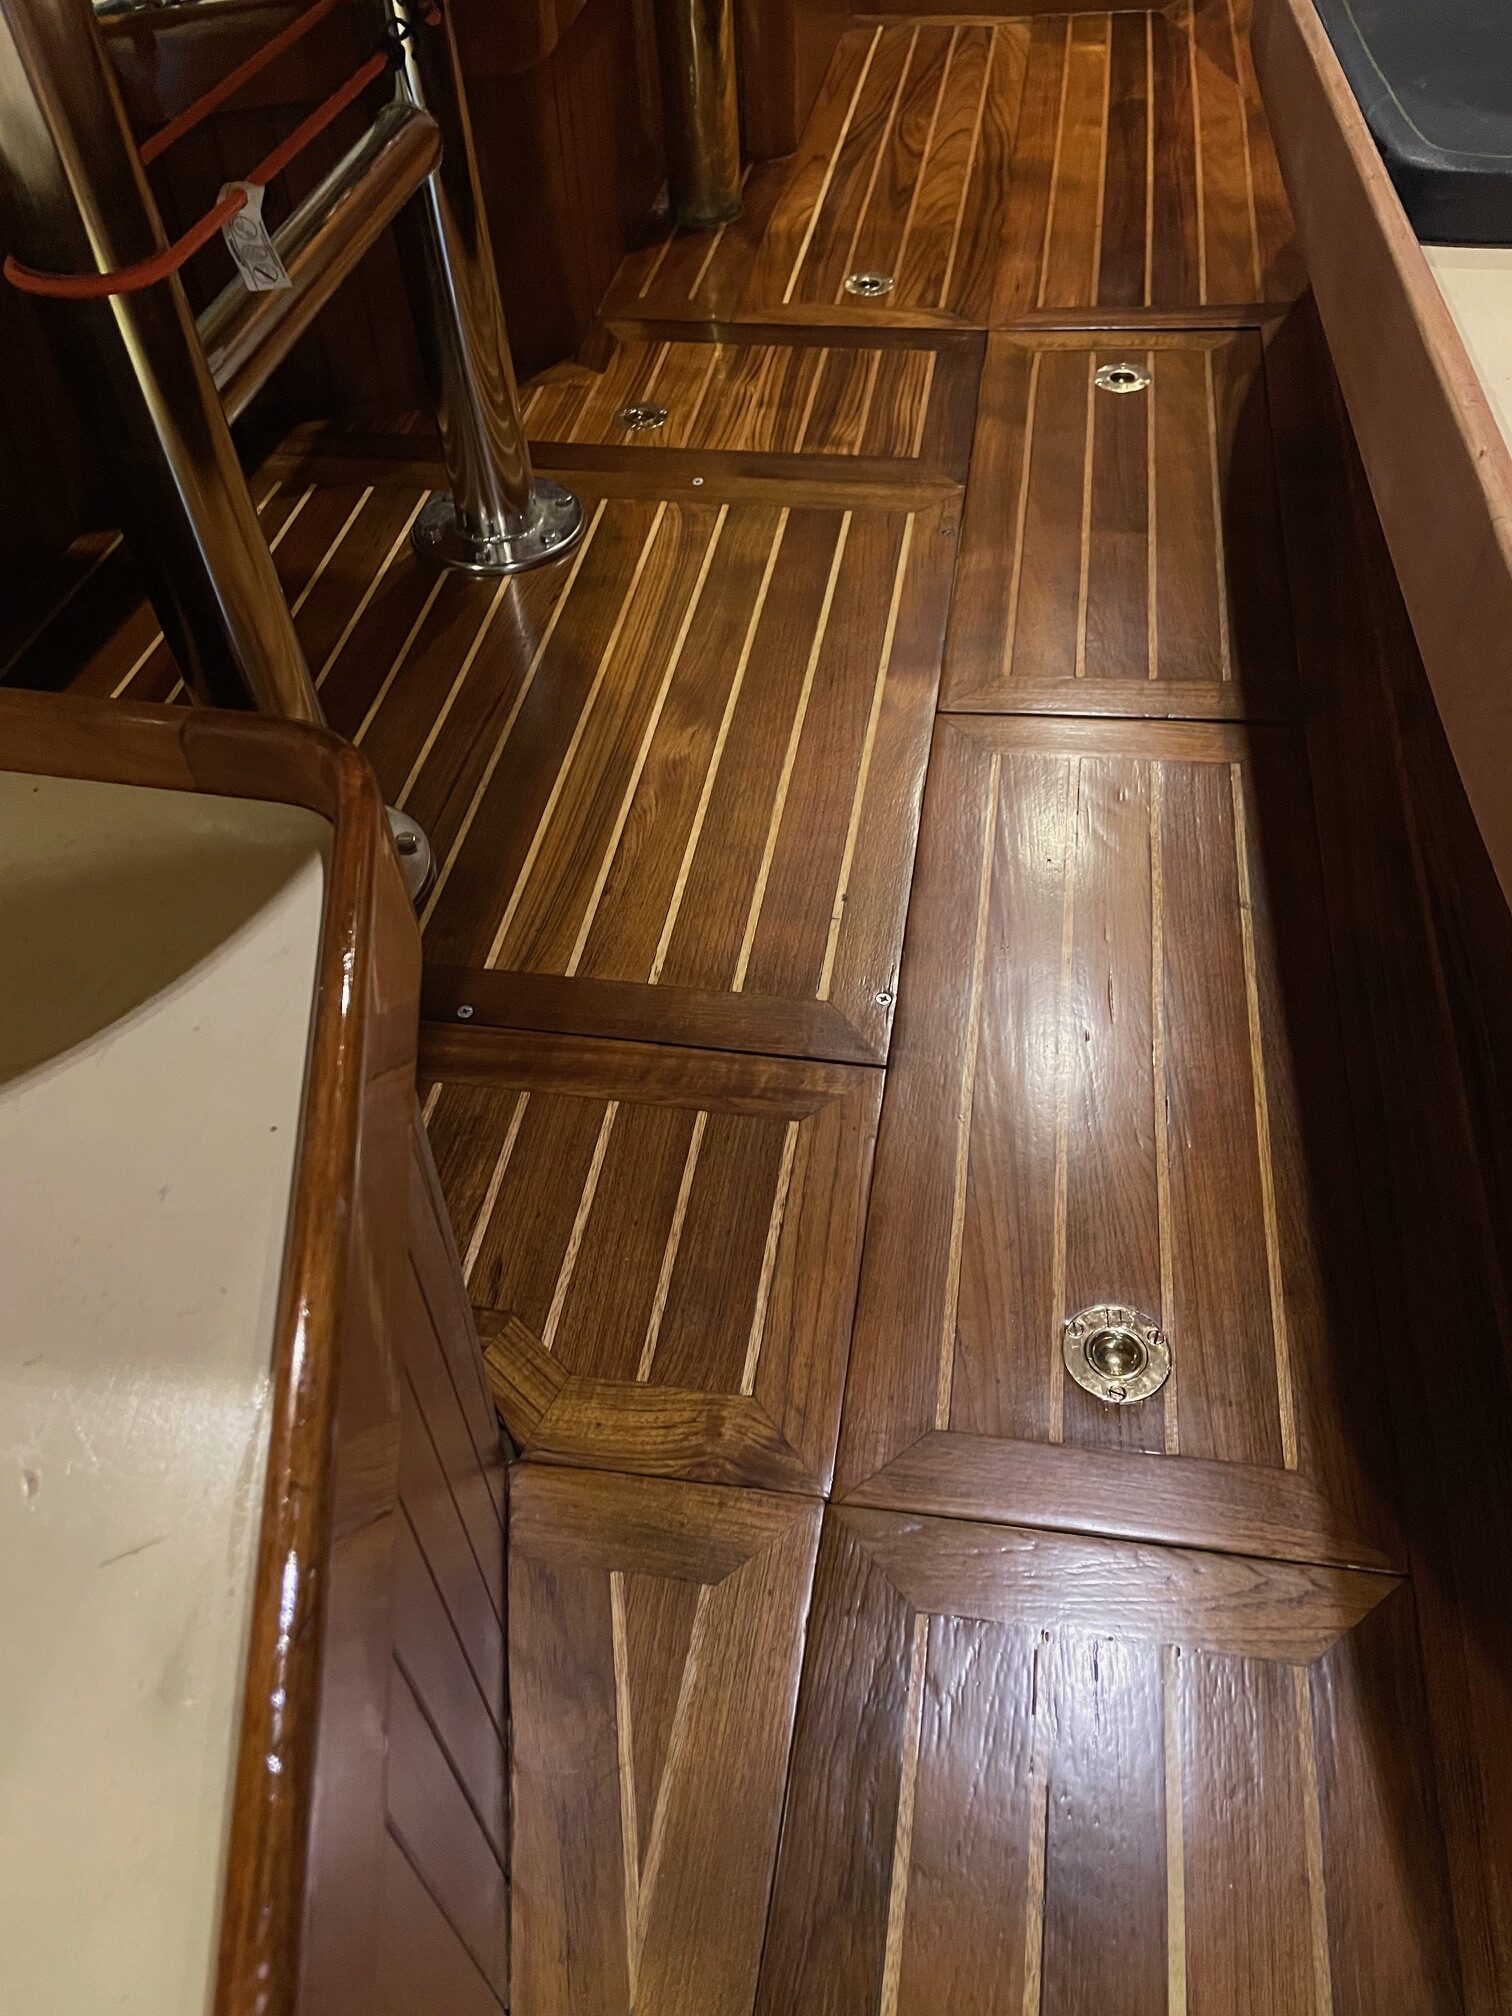
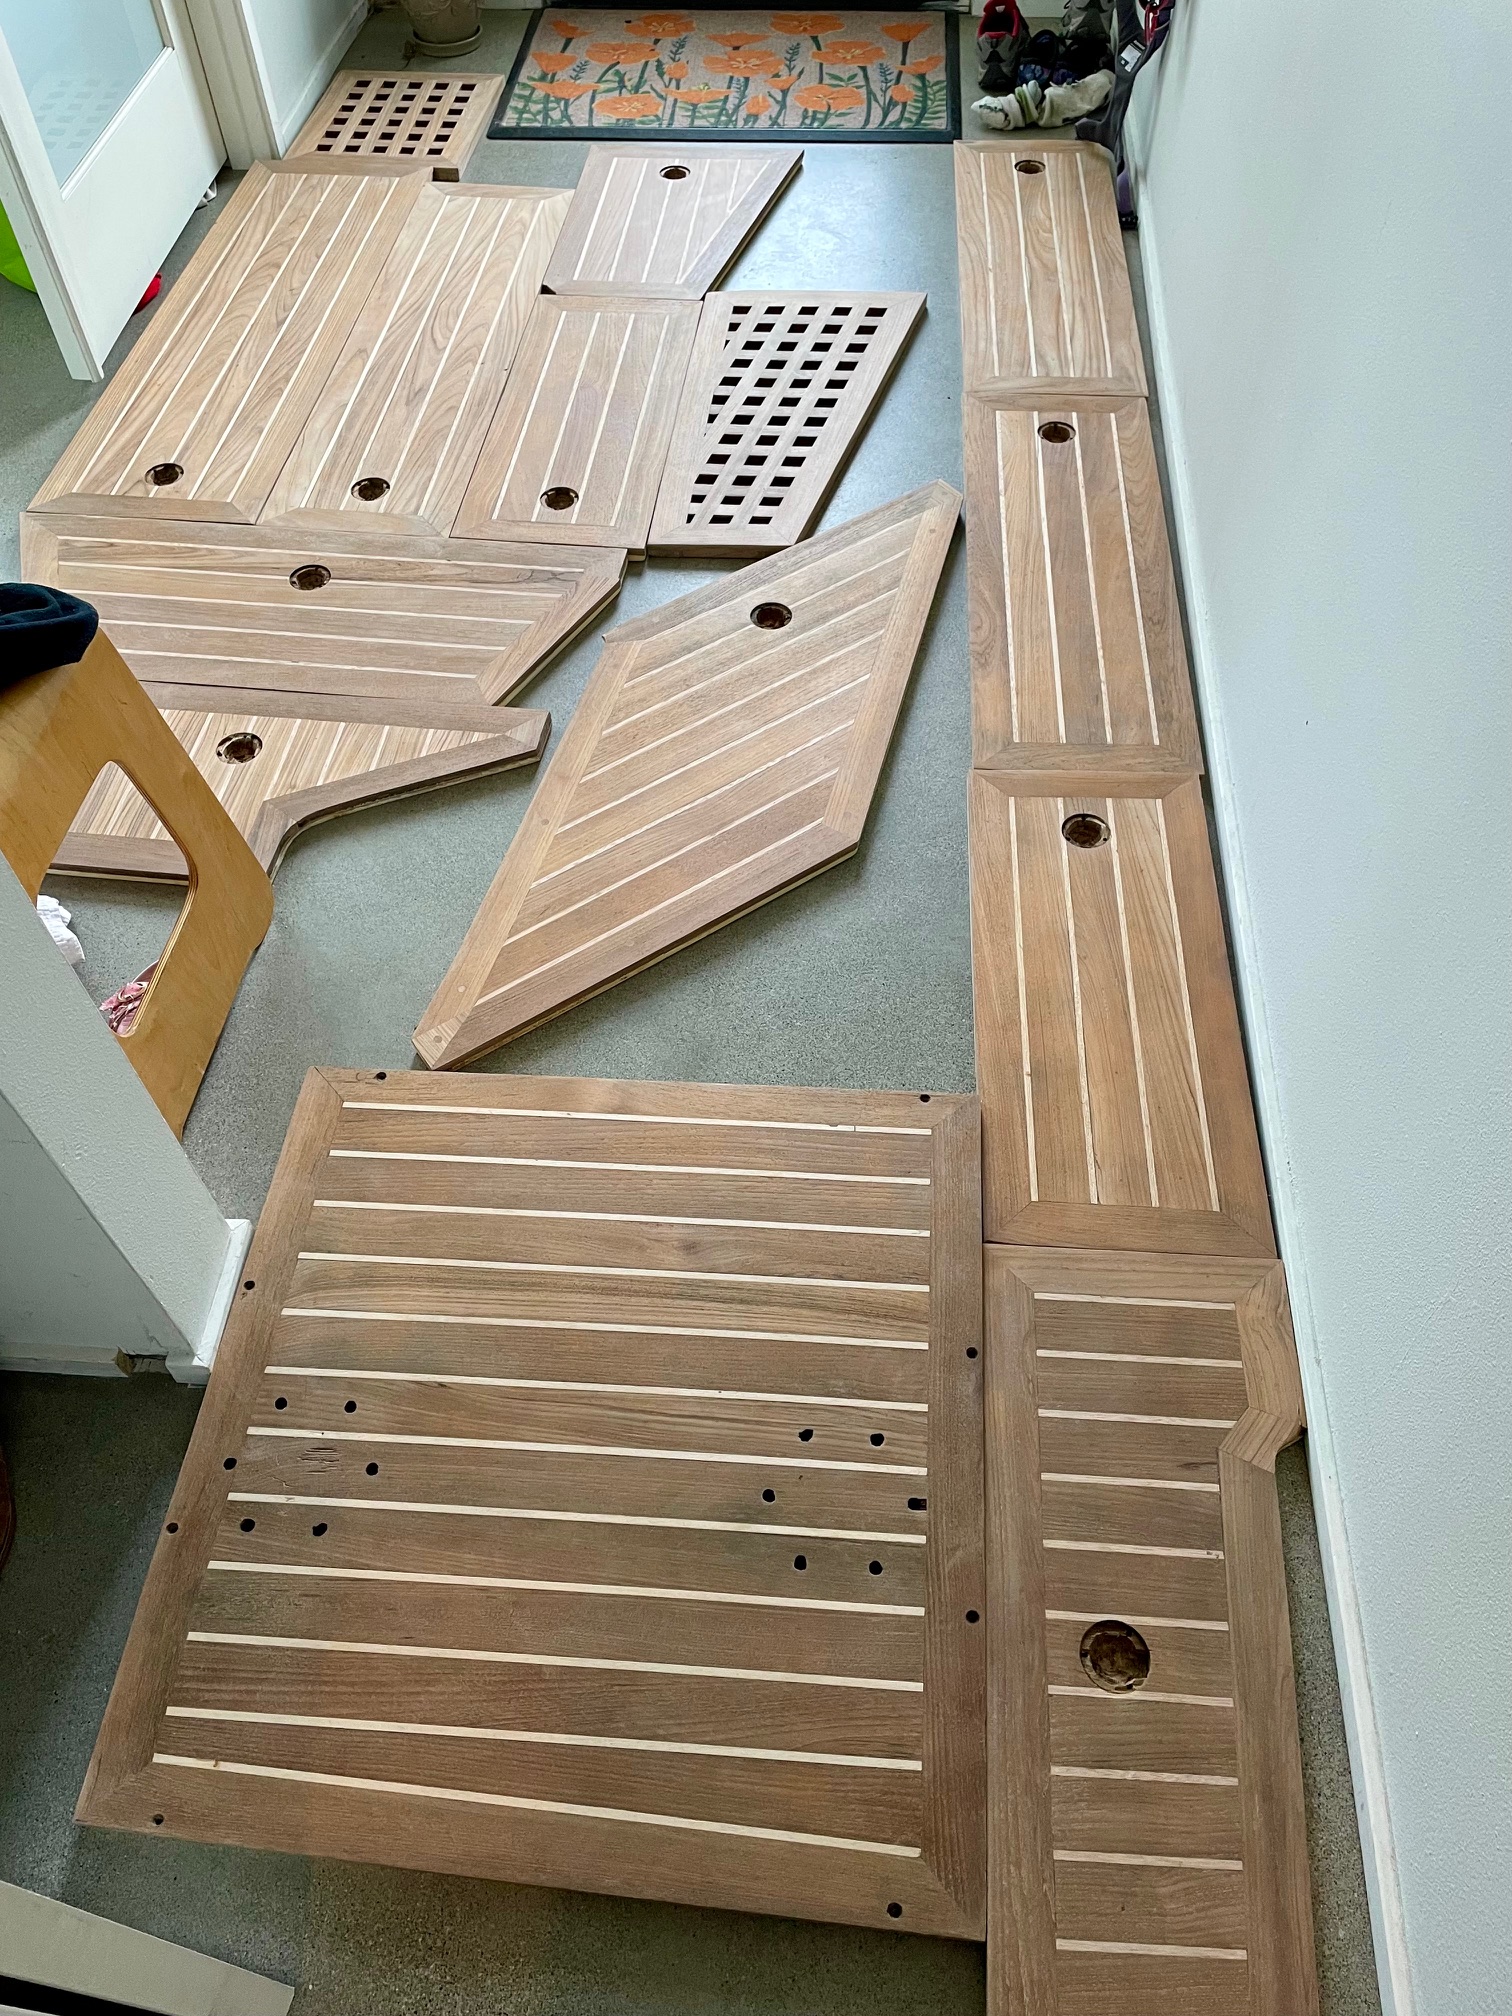
There are 14 removable panels, equaling about 2/3rd of the entire sole. These can all be removed and taken off the boat for ease of refinishing. The remainder is non-removable and will be refinished in-place on the boat.
I decided to use Awlwood products to refinish the sole. I’m very familiar with them from refinishing the entire exterior brightwork on Apropos. Instead of a yellow primer that I used on the exterior teak, I used a clear primer for the interior so the holly strips remain brighter for a better contrast with the darker teak. Then I applied 6 coats of clear gloss and a final 2 coats of clear matte.
Preparation
I took the removable panels off the boat to refinish. Here are the steps I followed:
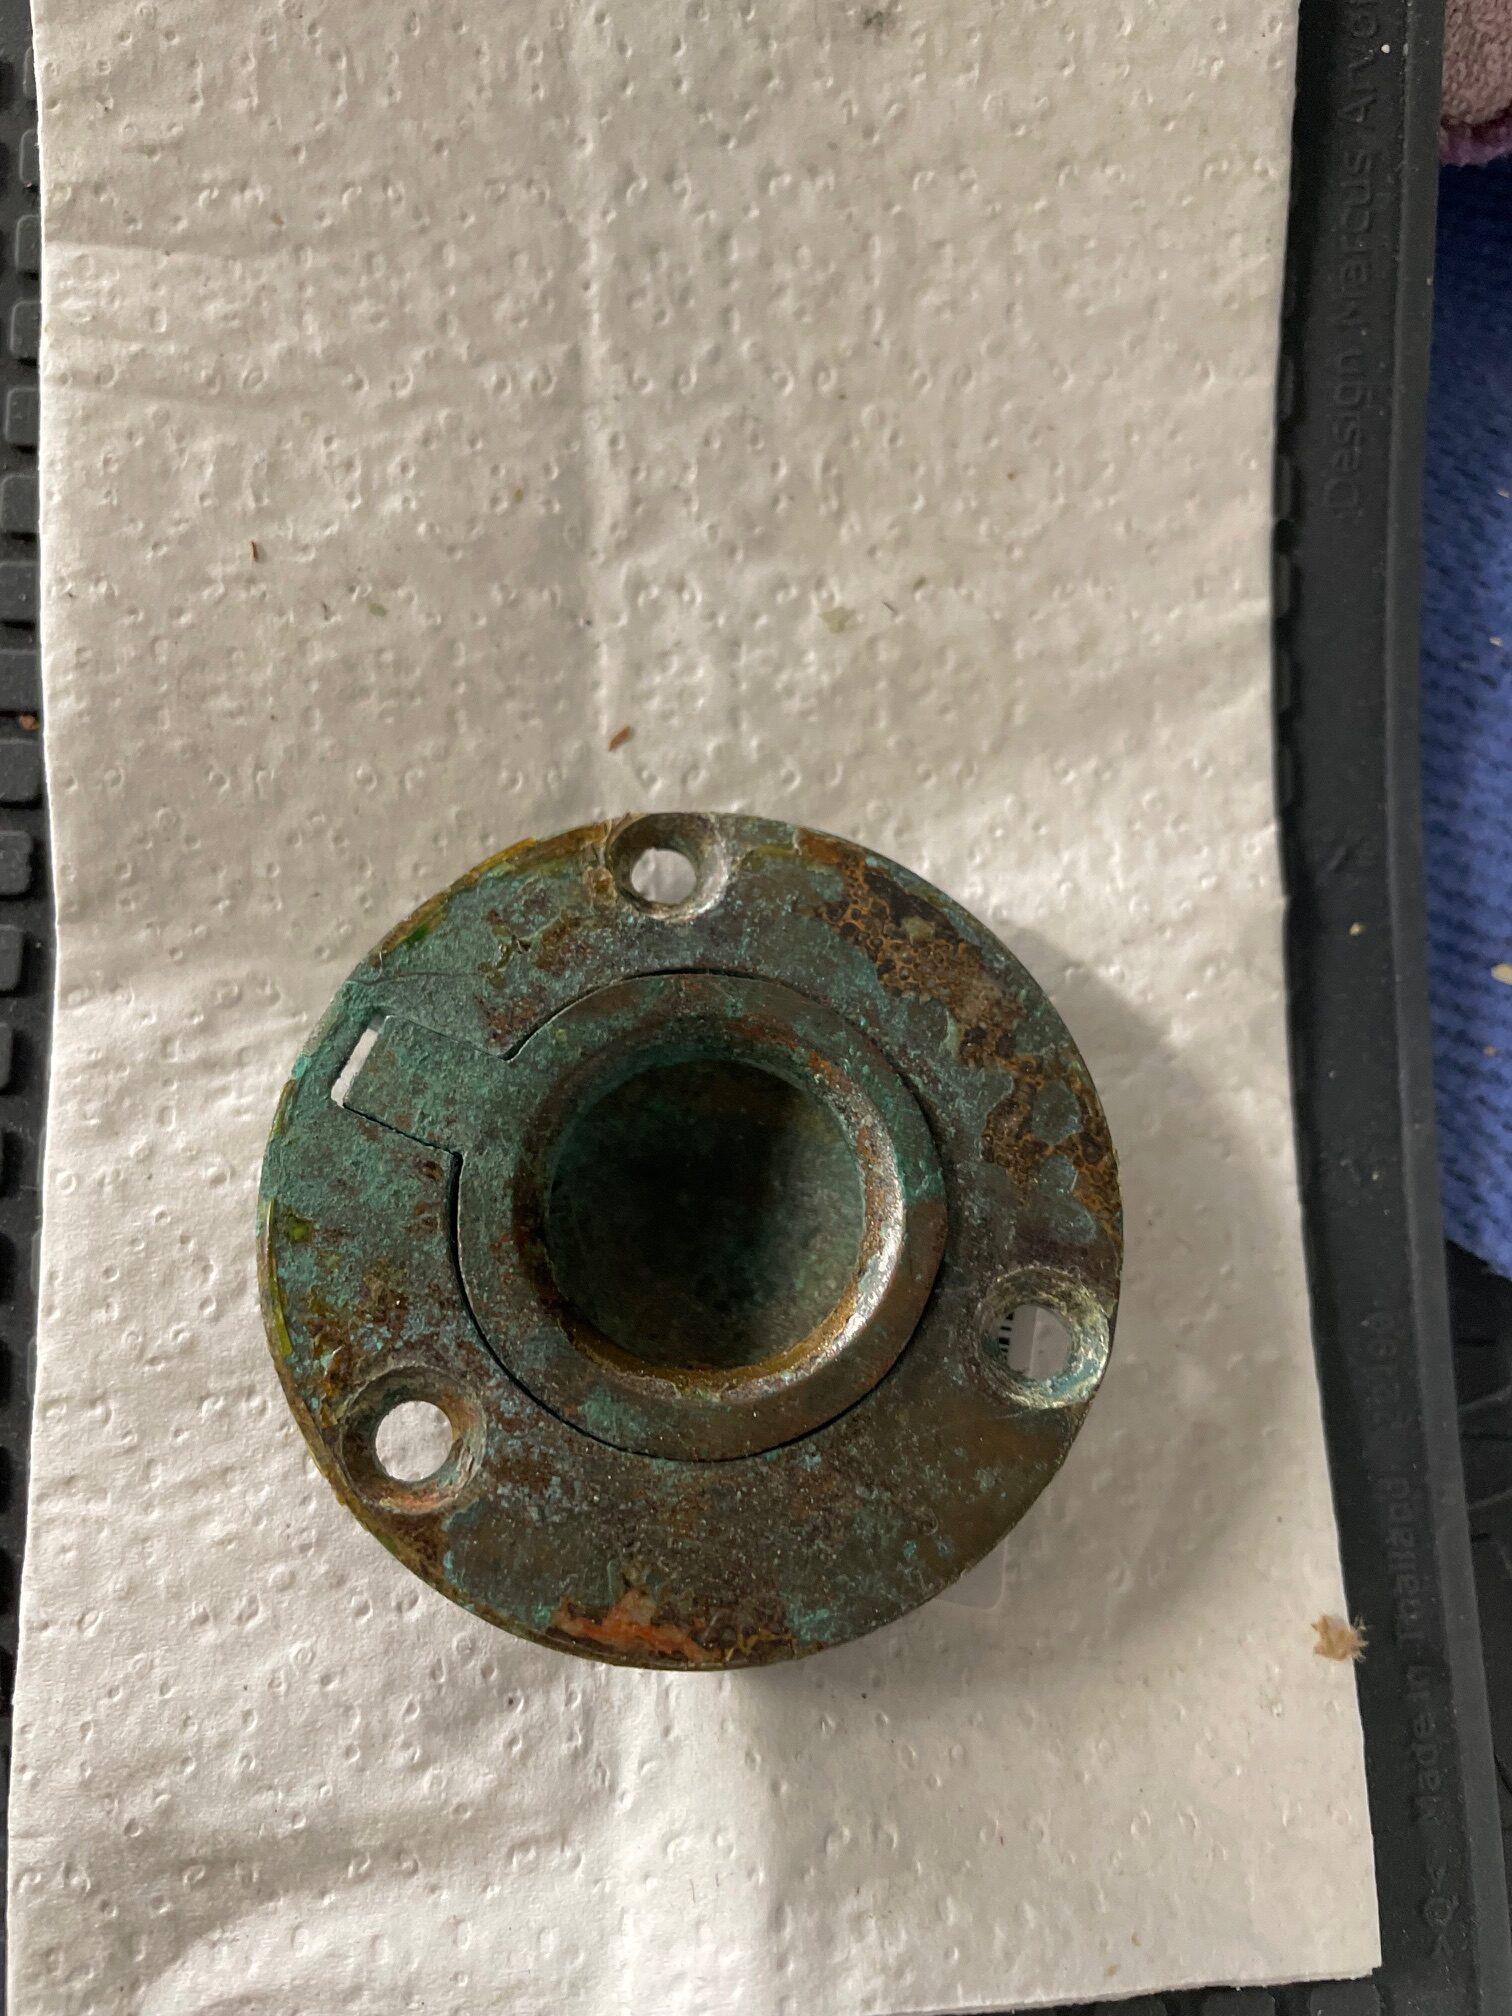
- Remove brass hardware (pull rings)
- Apply a chemical stripper and allow to sit overnight
- Use a heat gun and scraper to remove the old varnish
- Use an orbital sander with 80 grit then 240 grit
- Apply clear primer
- Apply 6 coats of clear gloss
- Apply 2 coats of clear matte
- Polish and reinstall brass hardware
The holly on Apropos sole appeared yellow because of the tint in the varnish. After stripping off the varnish and sanding, the holly is almost white. The finishing I’m using (Awlwood primer and clear) should do a better job at keeping the holly bright.
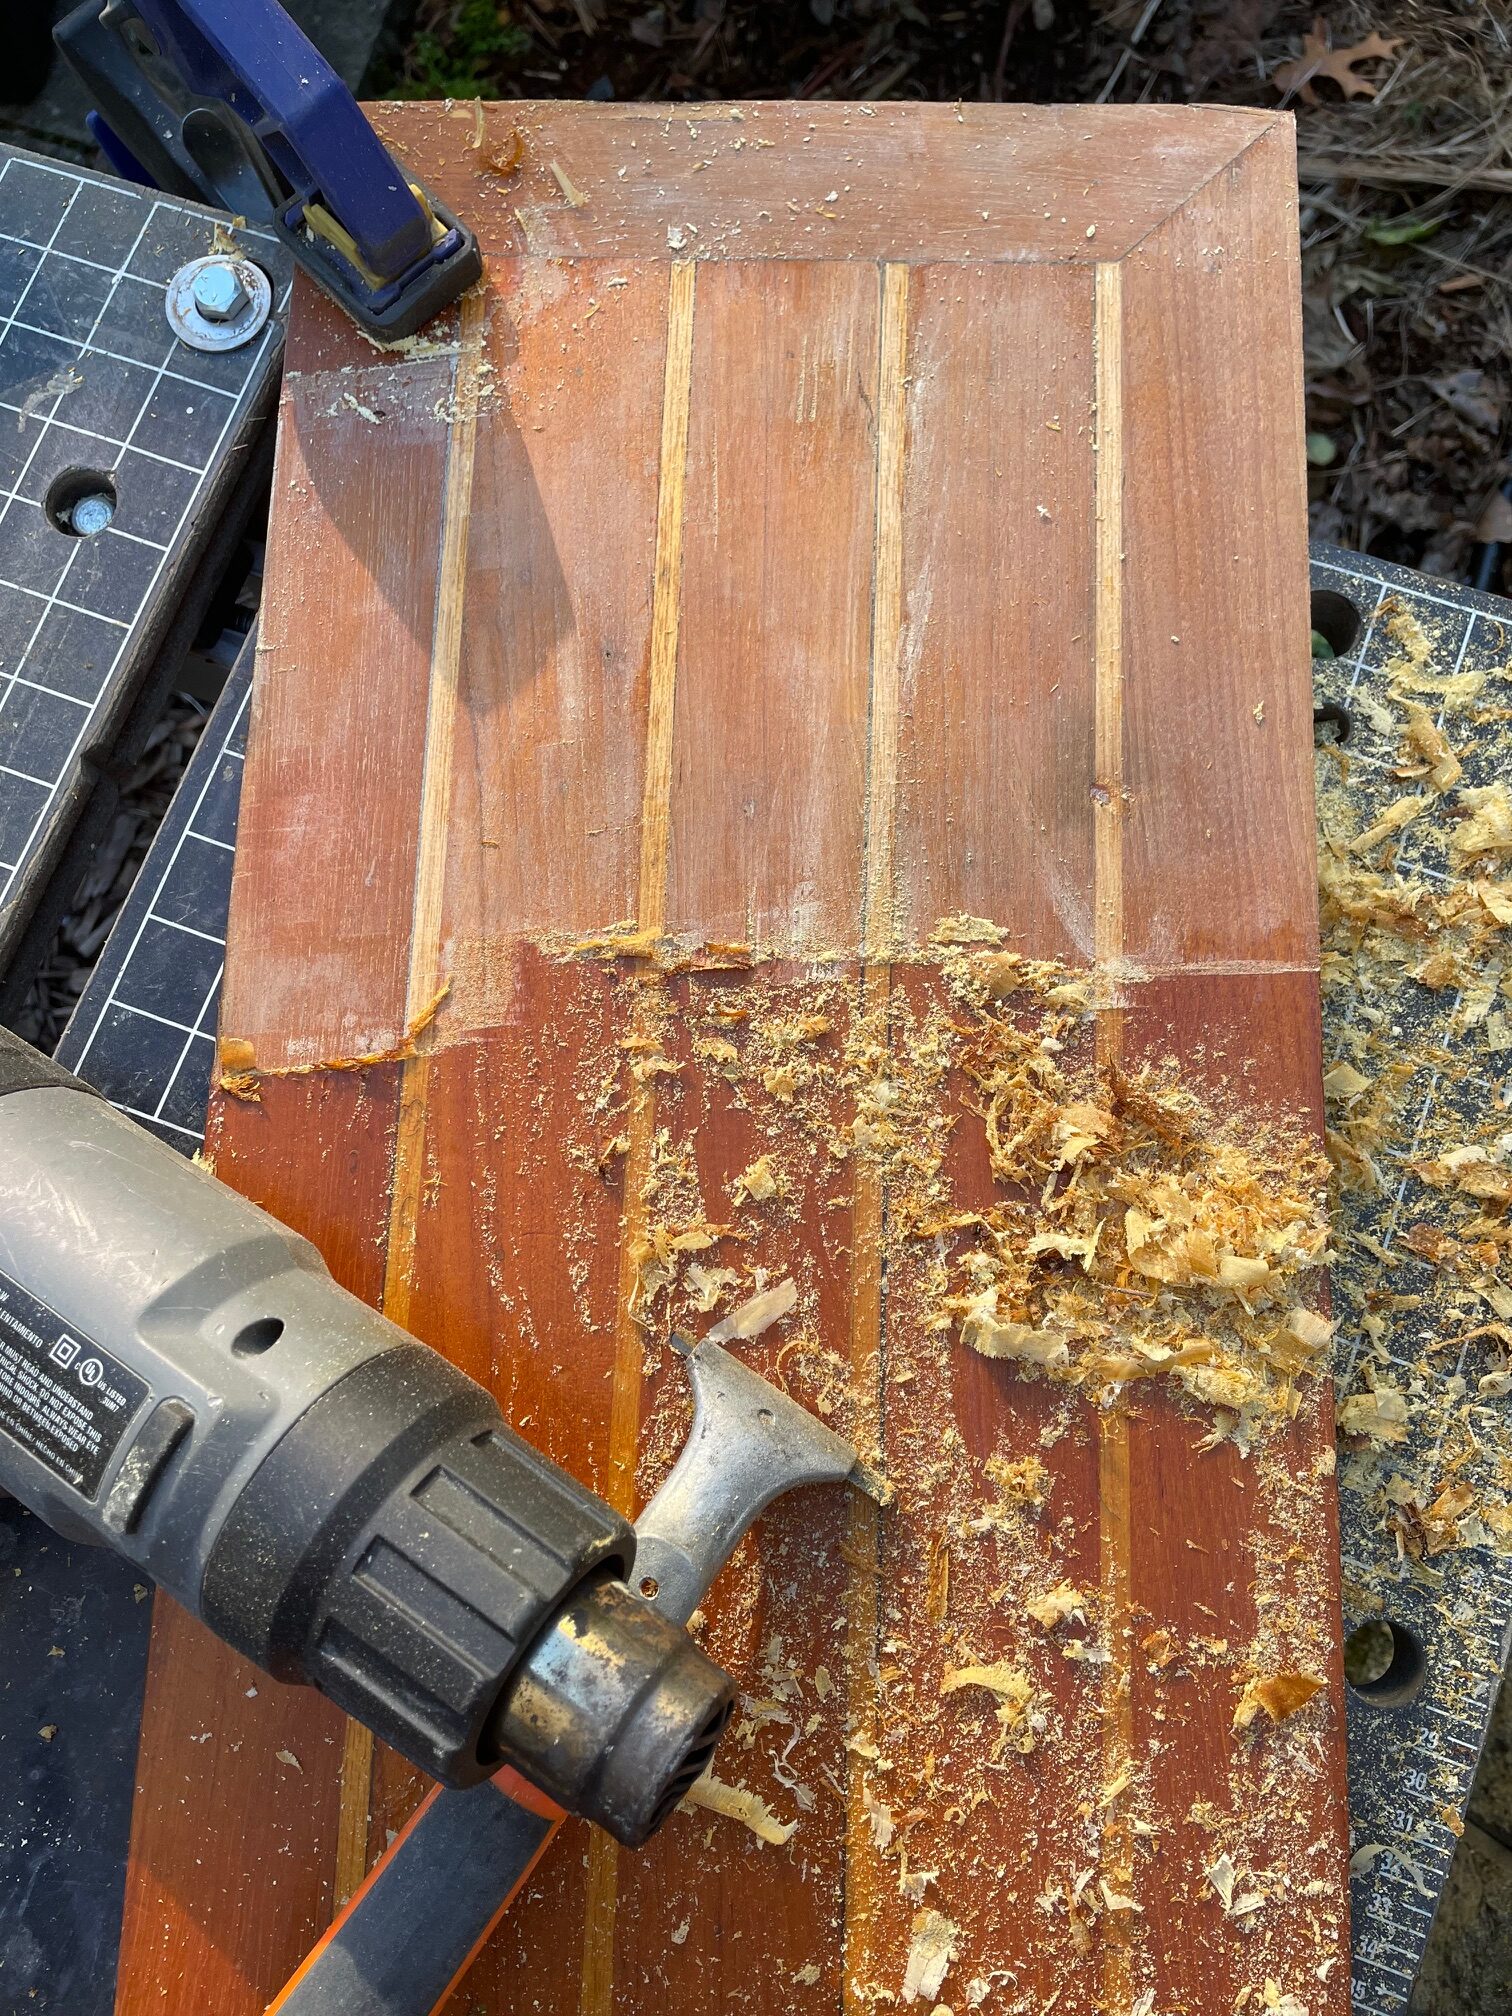

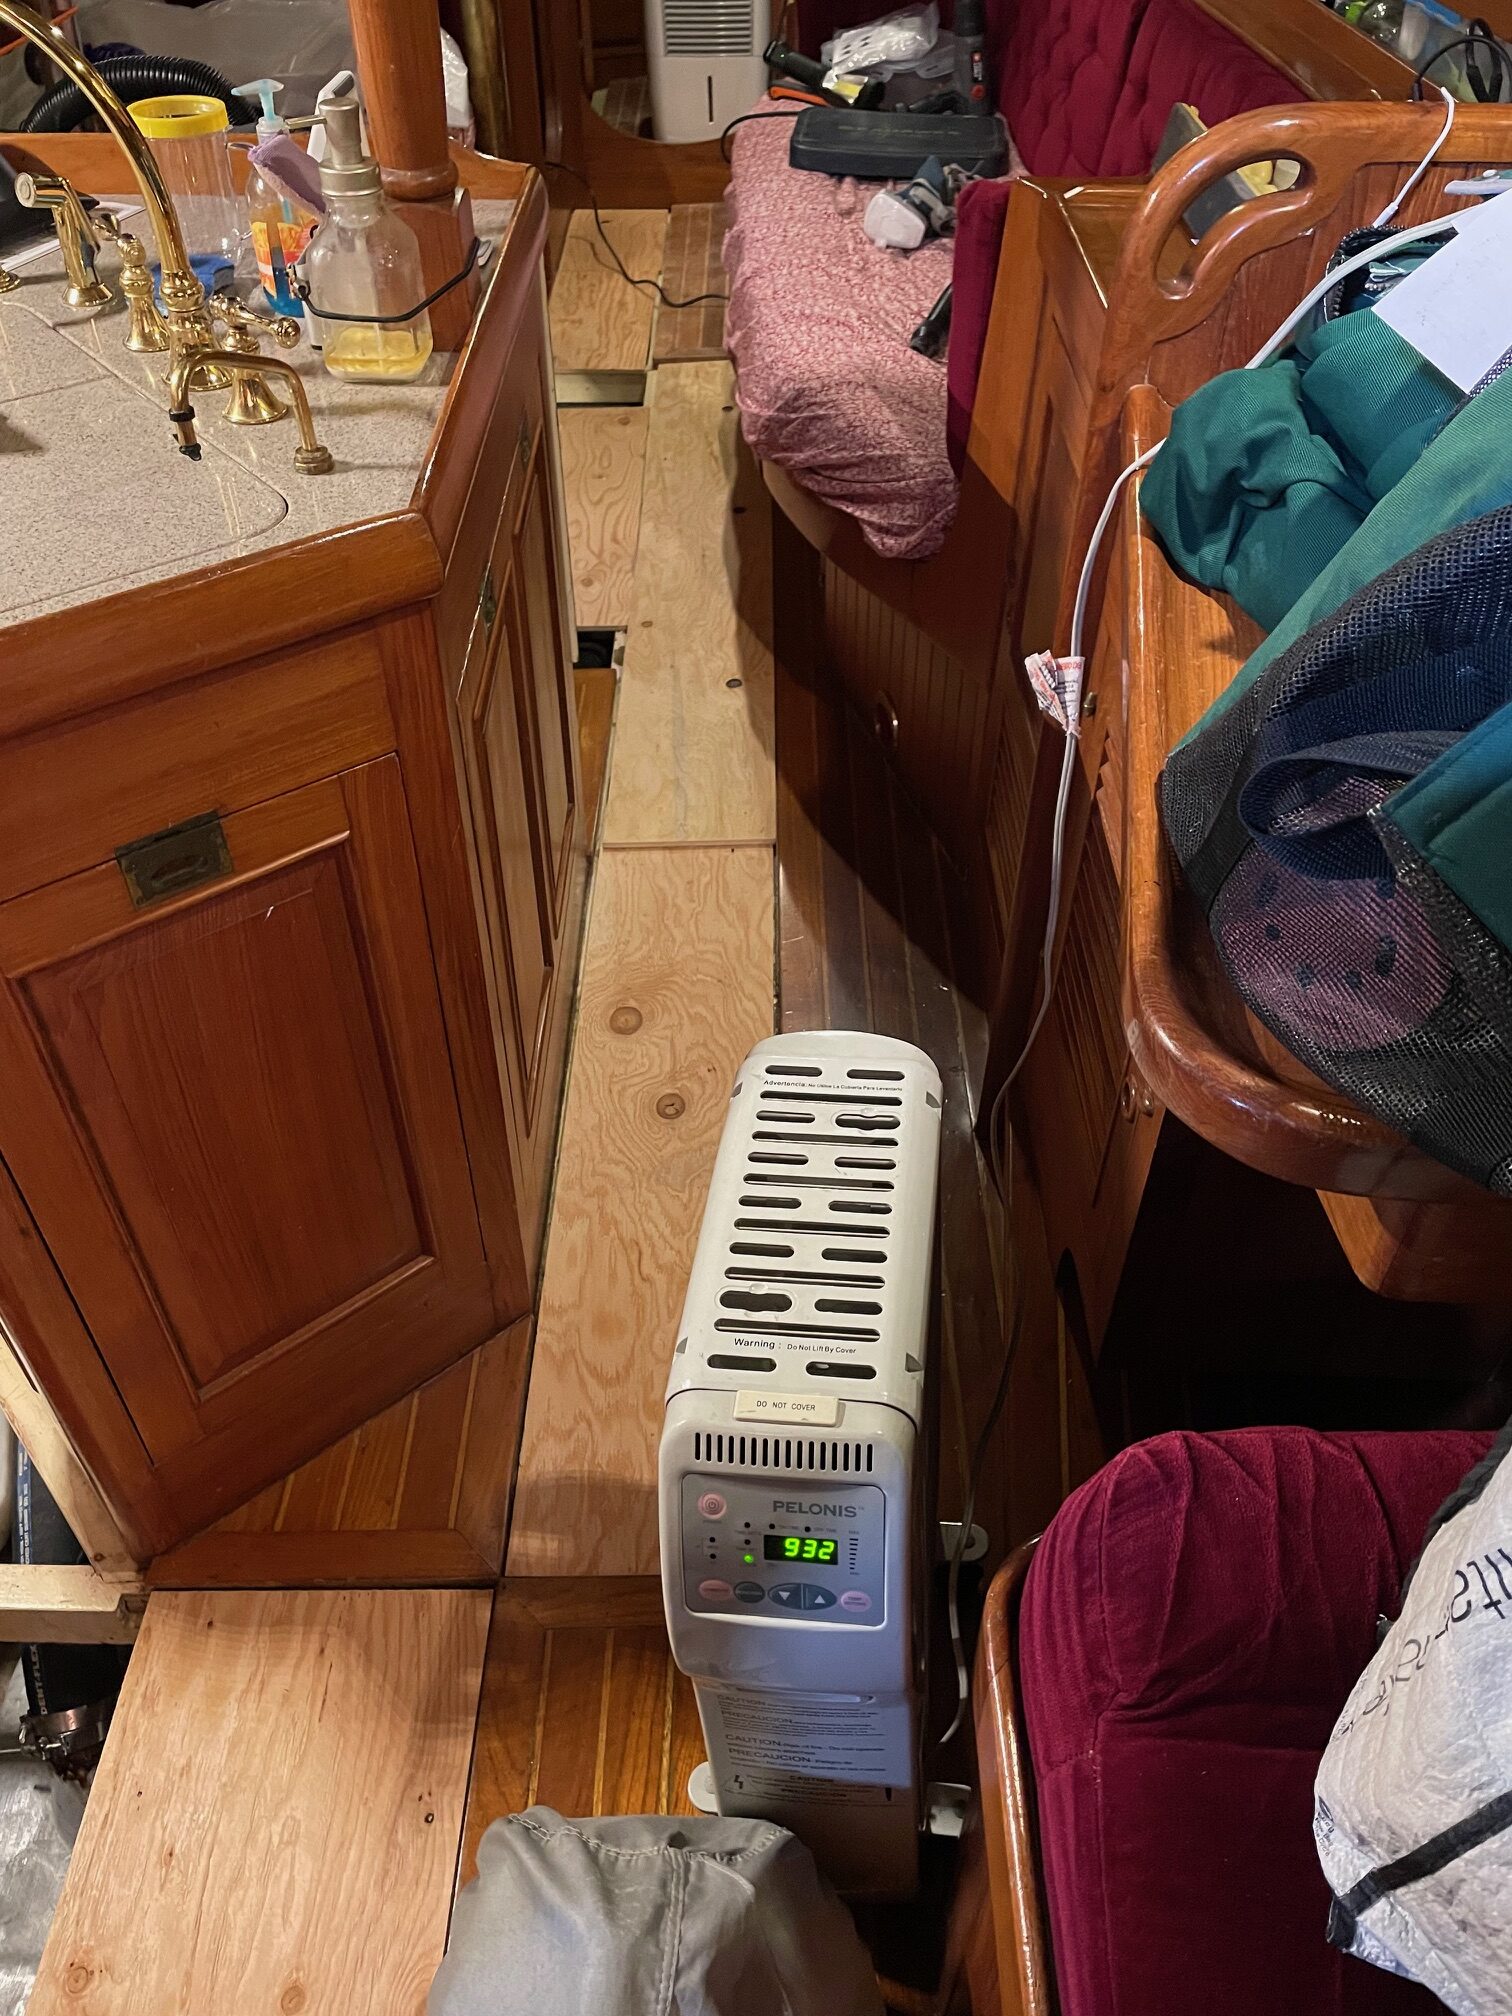
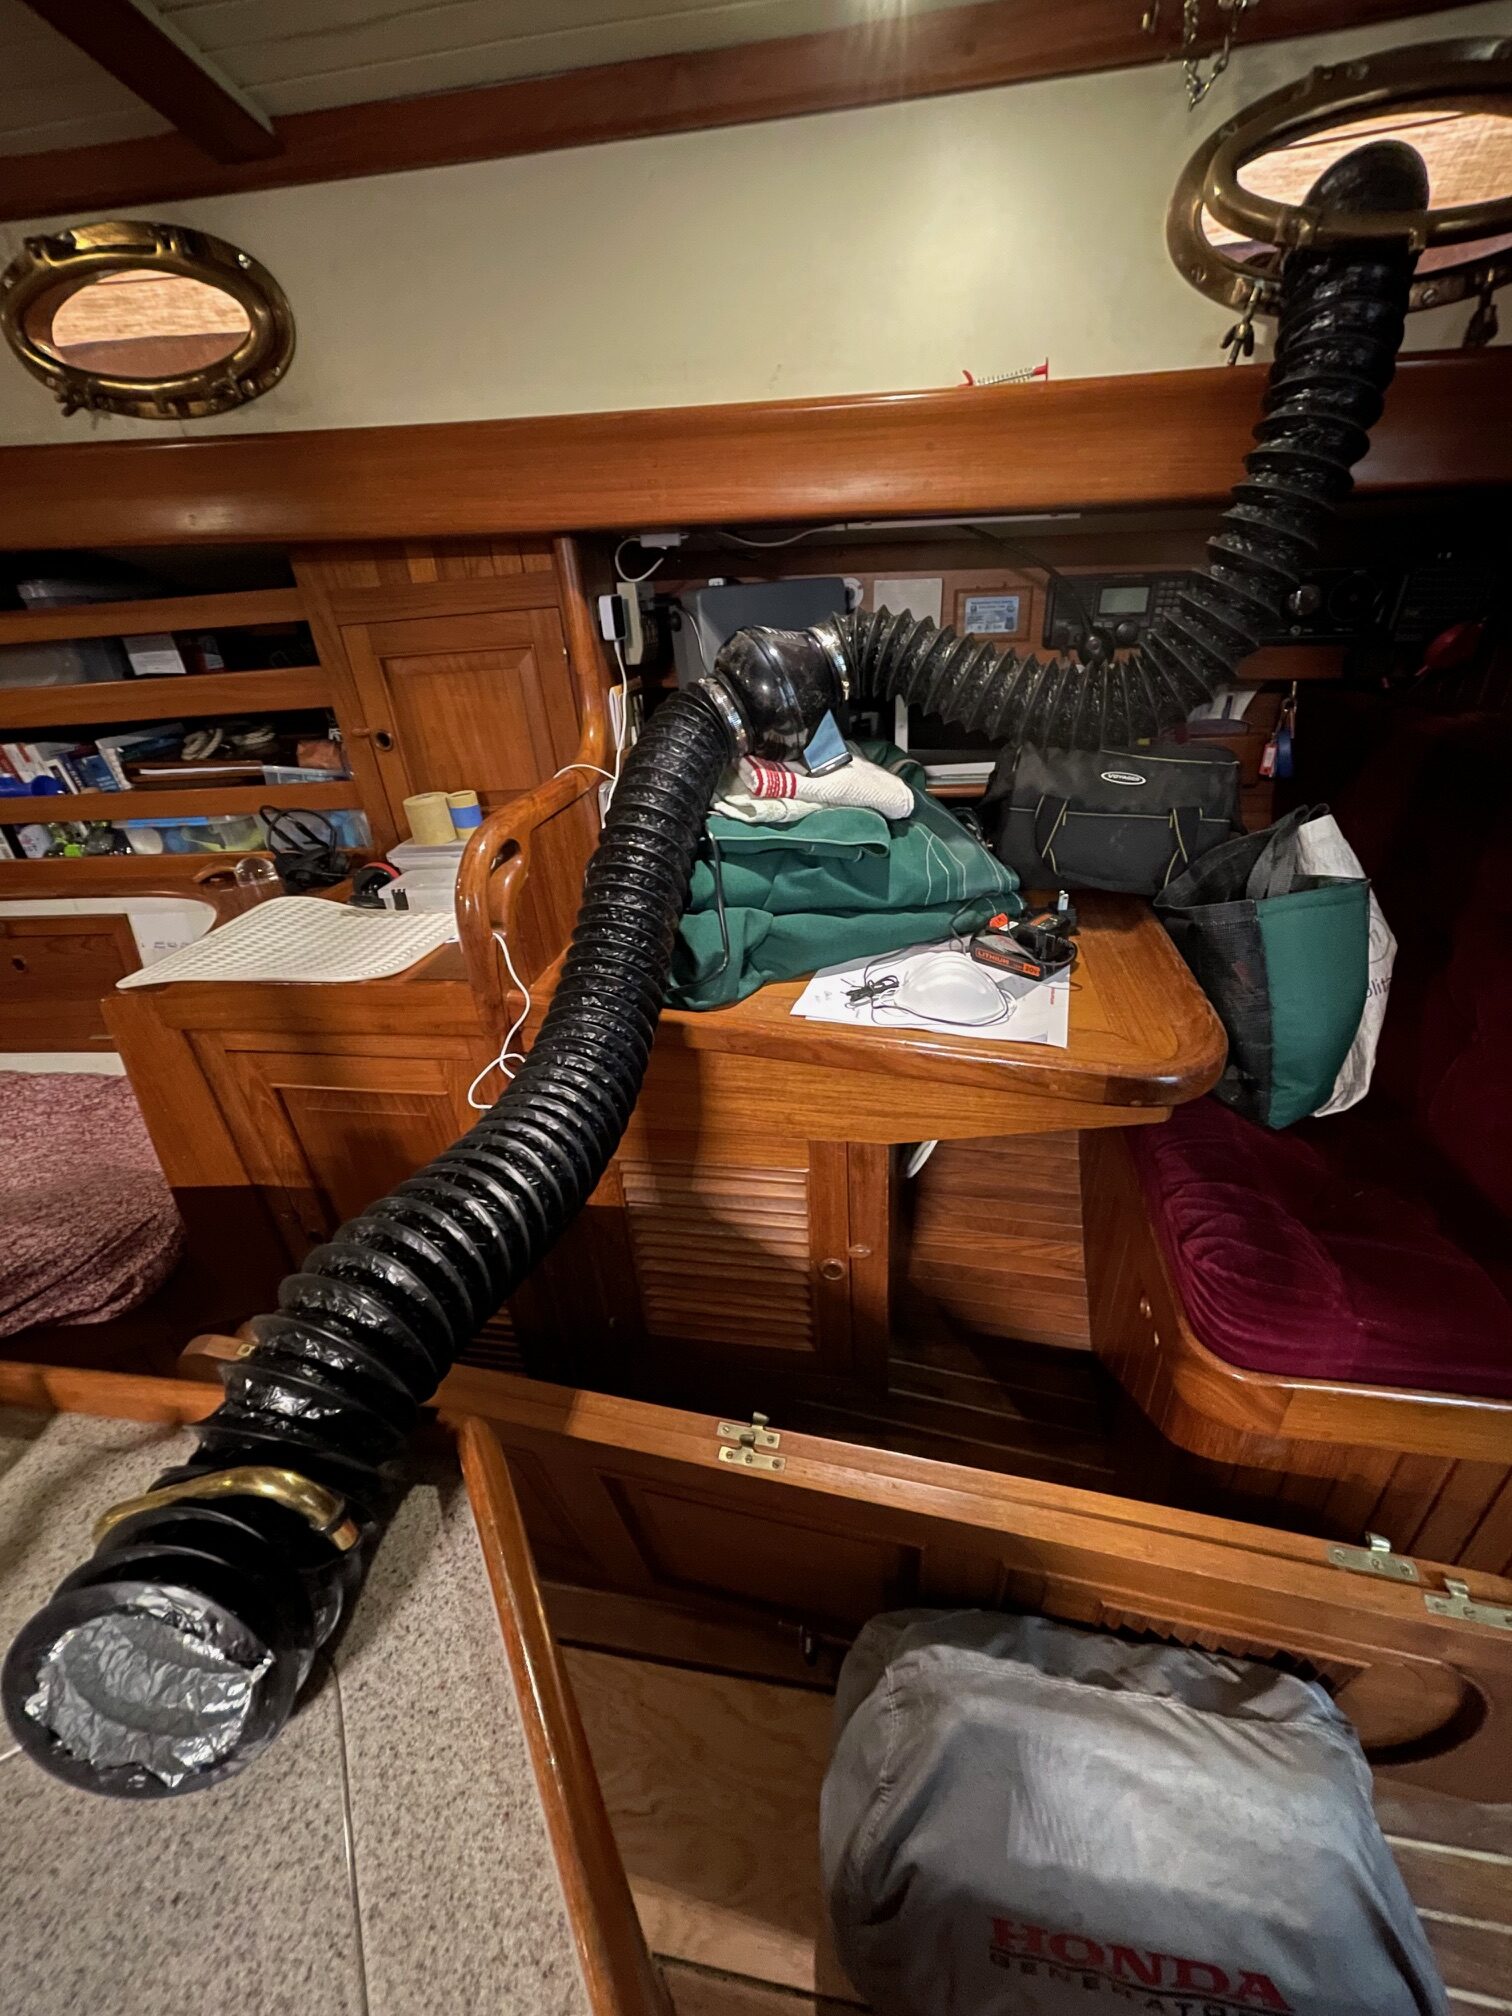
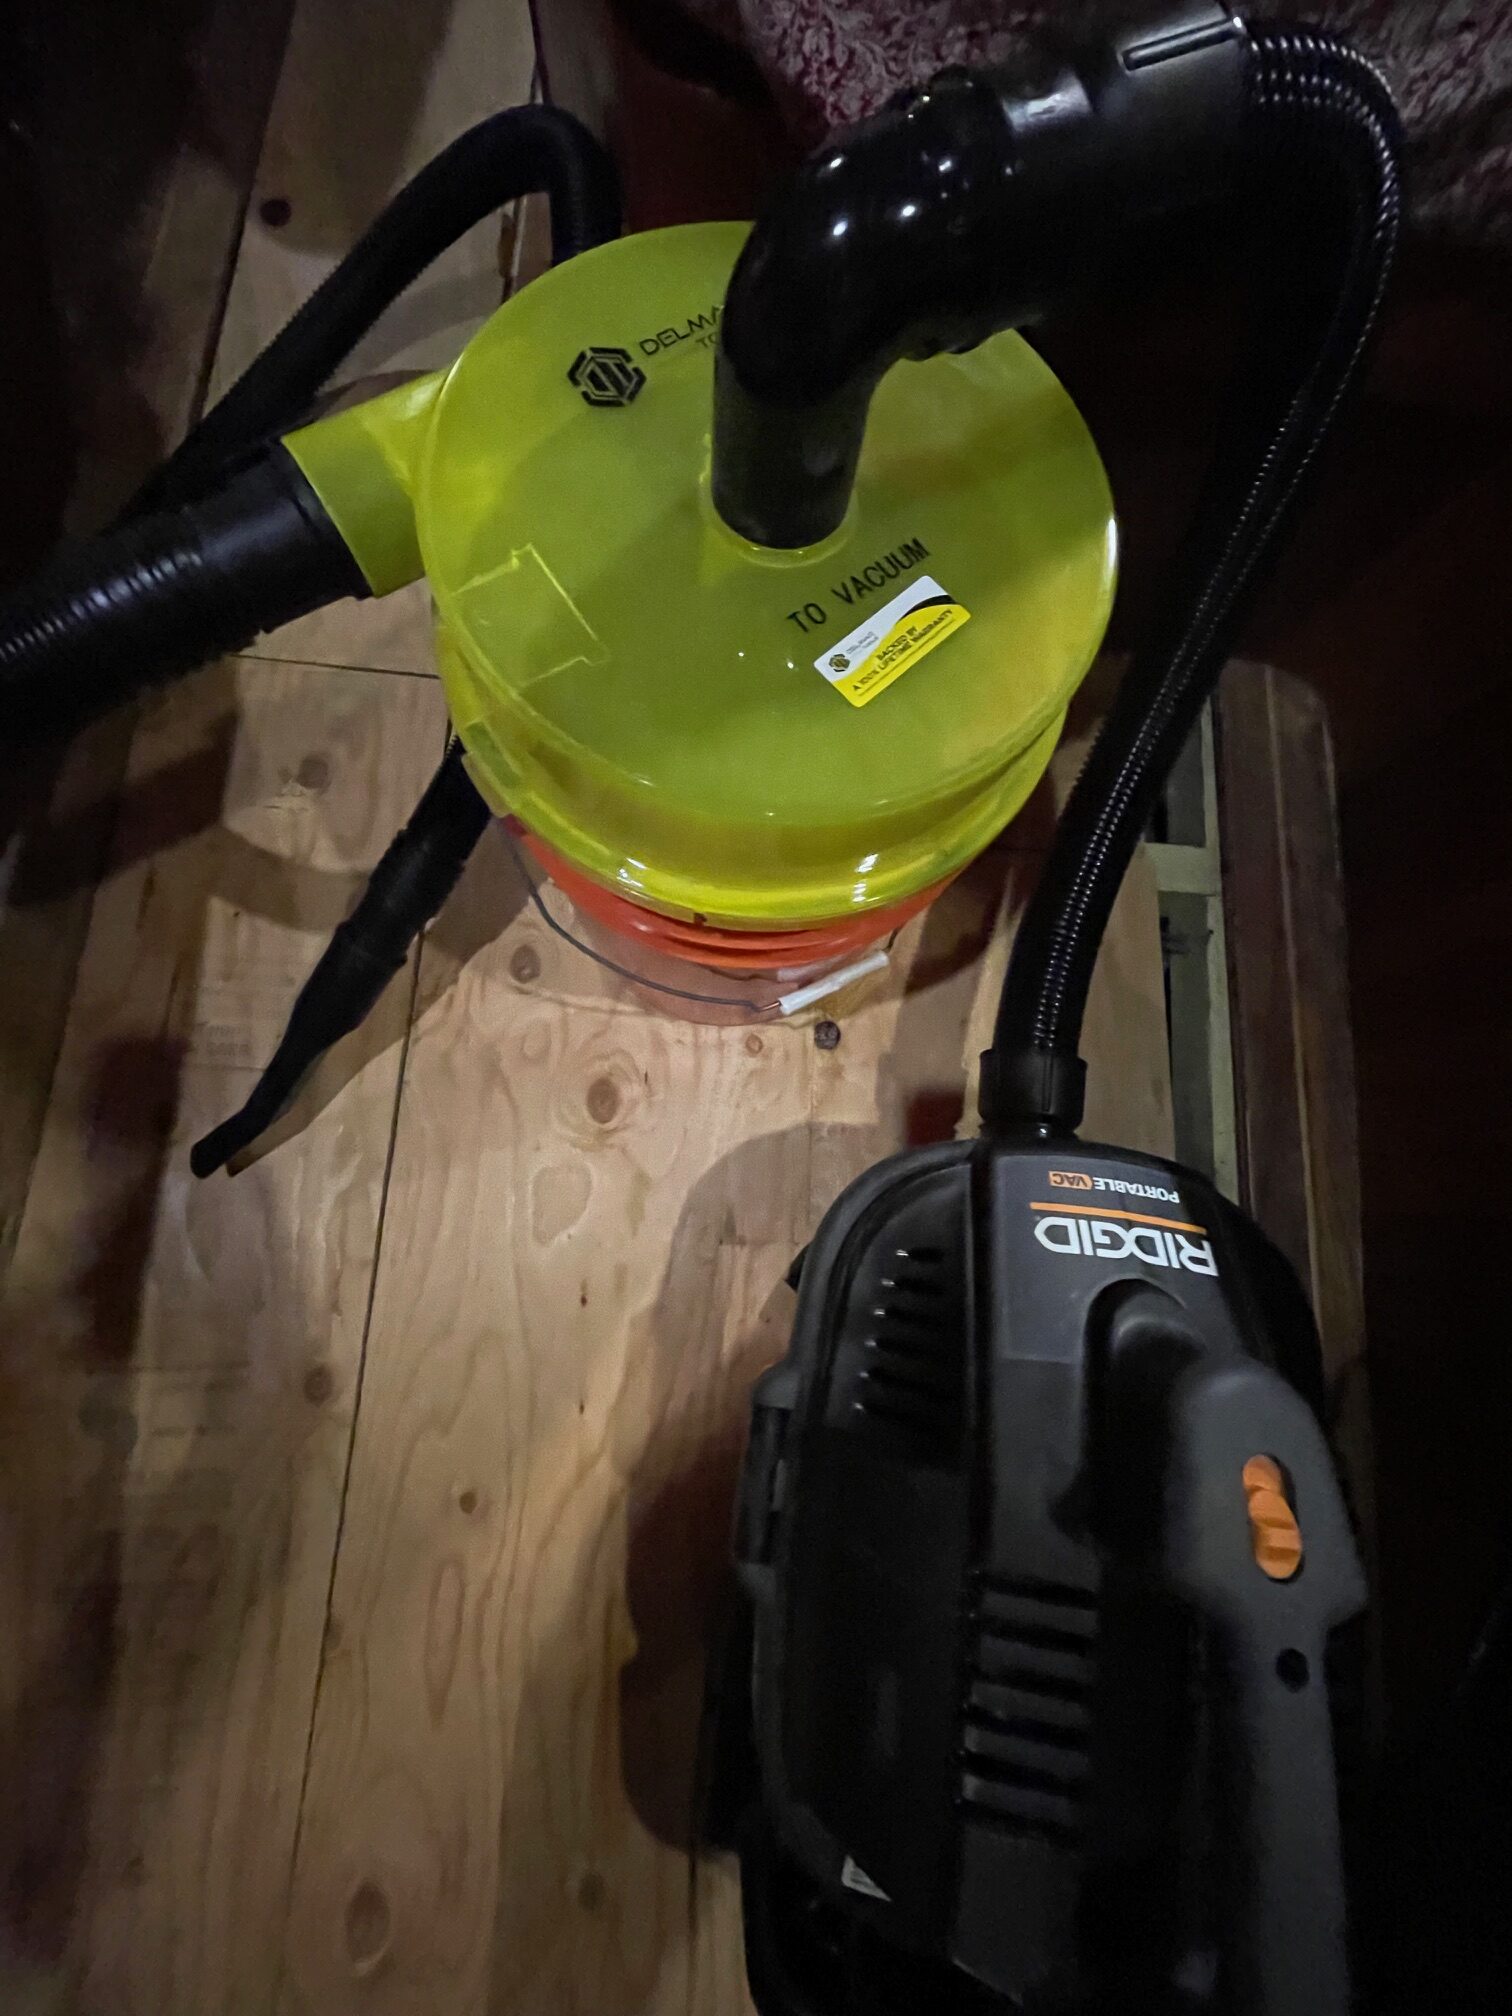
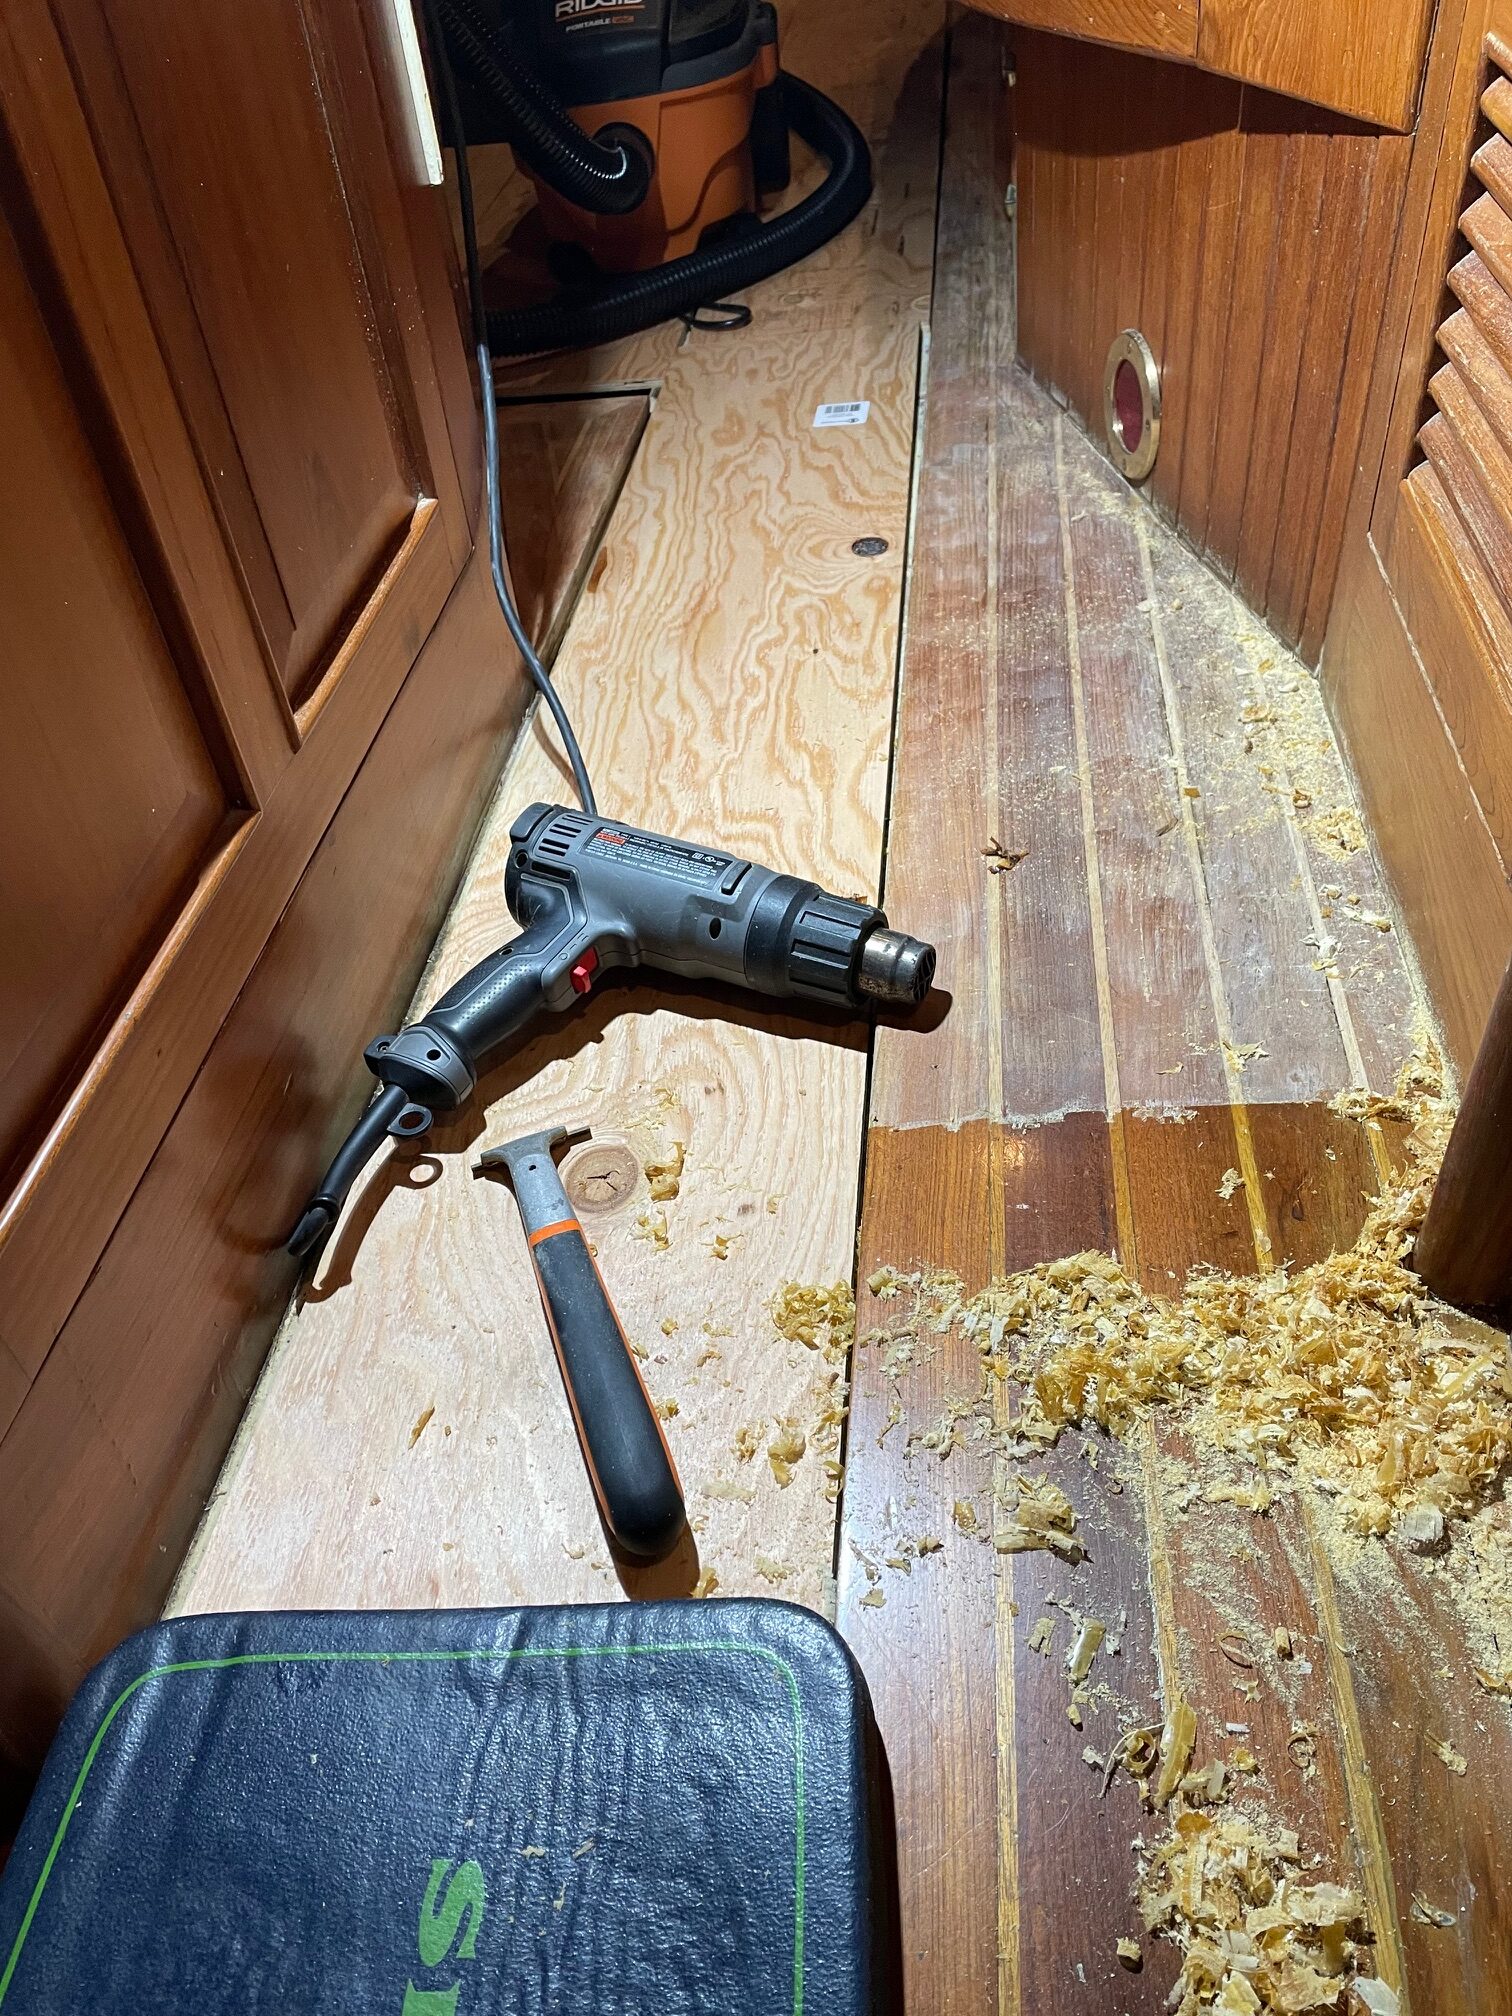
For the non-removable sections of the sole, the process was a lot more difficult. I cut a full sheet of plywood into different shapes to take the place of the removed panels and make walking around easier. Heating, scraping, and sanding were messy. The orbital palm sander put dust everywhere. Goggles and a good respirator were important protections from dust and chemical fumes. When sanding, I ran a duct fan with 4″ hoses from the area where I was working, out through a port to the outside of the boat. At 195 cfm, this helped remove a lot of the dust in the air. I also ran a good shop vacuum with a dust separator while scraping and sanding.
Primer Coat
After final sanding and using compressed air to remove the fine saw dust, I applied a coat of Awlwood Clear Primer. This helps seal the wood and prepare for building the layers of Clear Gloss. Even though there was no pigment in the primer, it gave the teak a darker tone while still keeping the holly bright.
Clear Coats
After a light sanding of the primer, I applied 6 coats of Awlwood Gloss, sanding after every 2 coats. I used Awlwood Matte for coats 7 and 8 to give it a less shiny look and make it less slippery. Here’s a before and after photo of one of the panels.
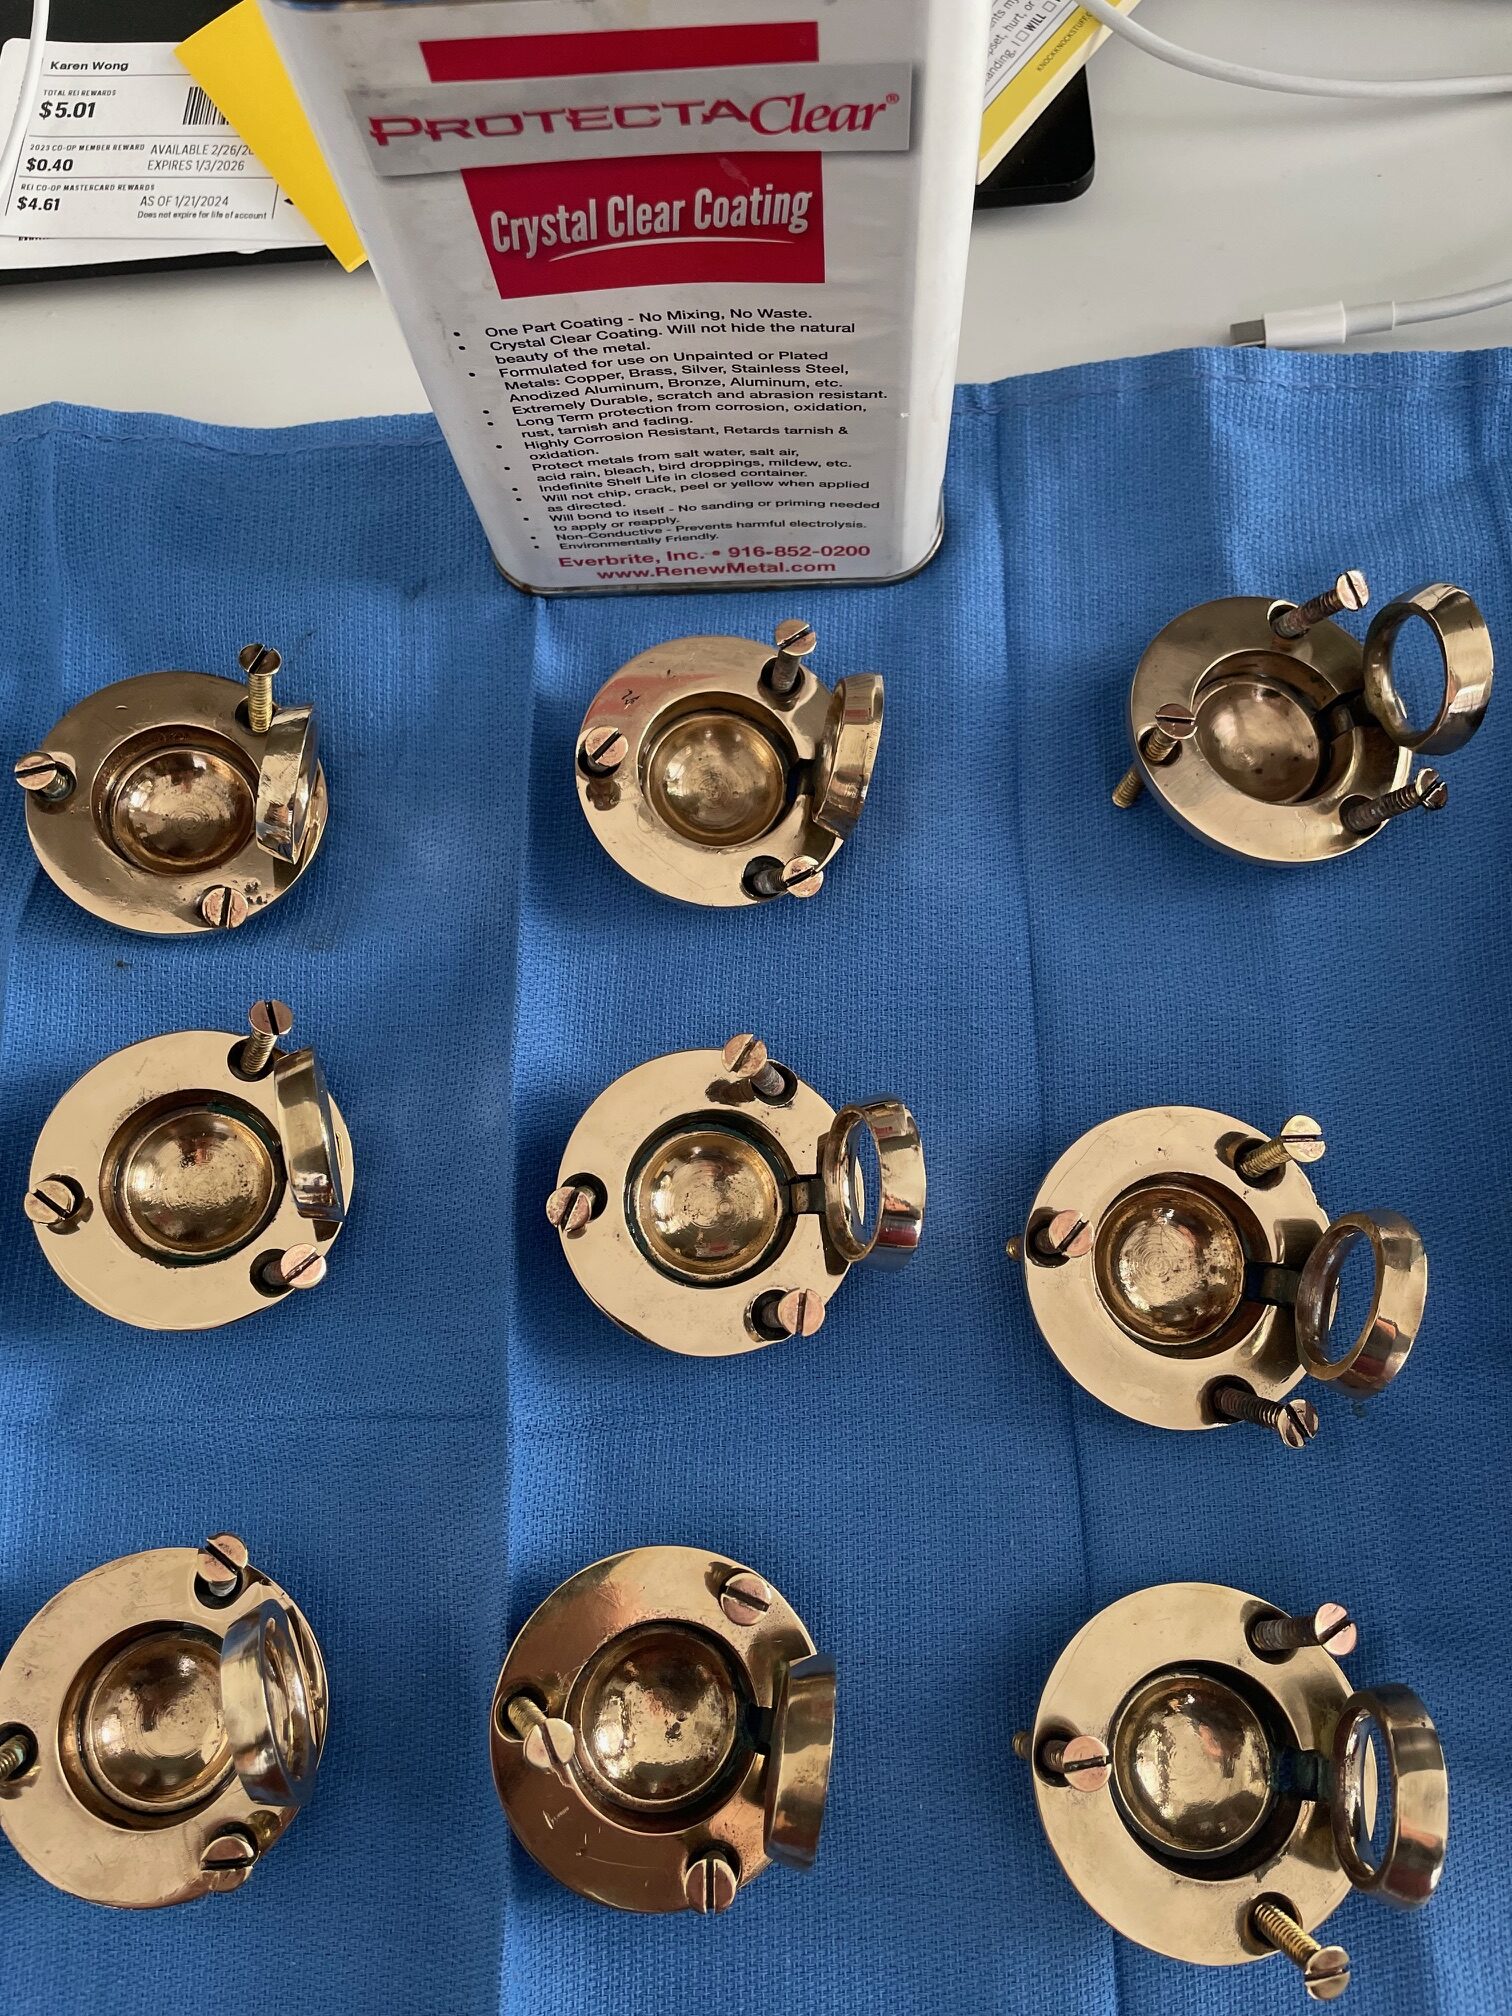
Brass Pull Rings
Using a wheel polisher with buffing compounds, I was able to make the brass pull rings shiny again. After polishing, I coated them with 6 layers of ProtectaClear. I’ve had good luck with using ProtectaClear on interior brass parts such as galley faucets and hatch hardware, but not sure how durable it will be on parts that will be walked on.
Conclusion
The project took about a month from start to finish. It was a lot of hard work but the results were very satisfying.